
Interface mode: Simple vs Advanced
ShipPress starts in Simple mode: chat, the preview, your Tools, Canvas and Go live. When you need more, open Settings → Interface mode. Keep Simple and turn on extras one by one, or switch to Advanced to show every tool at once. You can switch back any time. Changes save as you go.
-
Open Settings → Interface mode
In the left sidebar, click Settings (the gear). In the Settings window, open the Interface mode tab. Changes are saved automatically — there is no Save button.
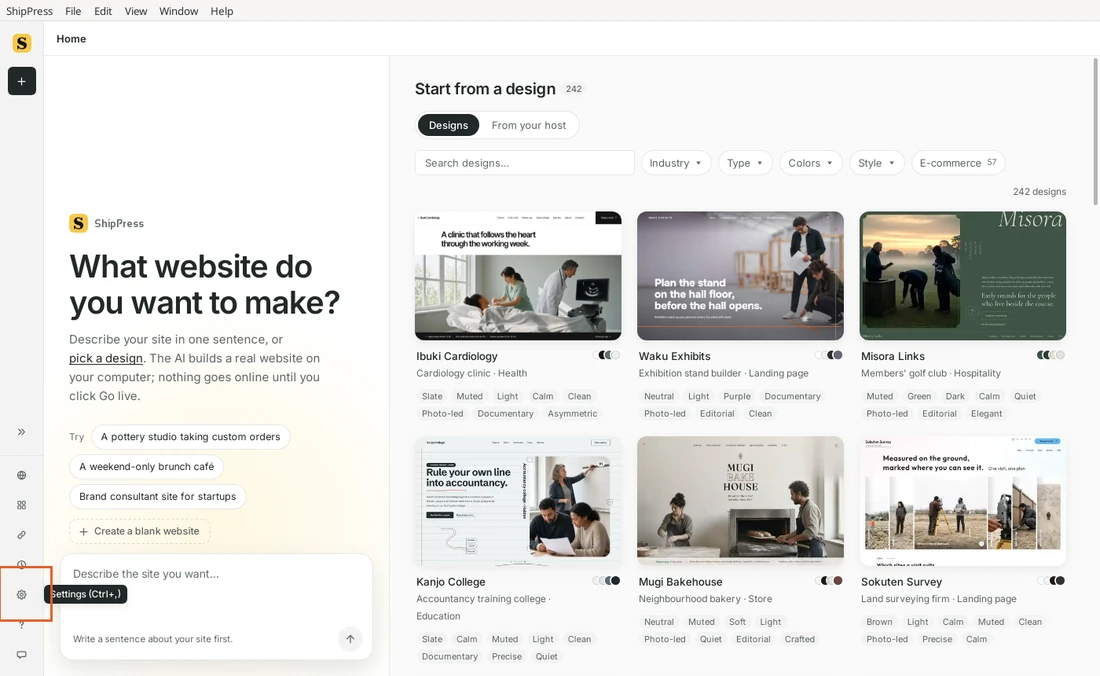
Settings sits in the left sidebar. -
Choose Simple or Advanced
At the top of Interface mode you see the section hint, then a Mode control: Simple or Advanced. Simple is the default. The note under the control explains what the mode you picked includes.
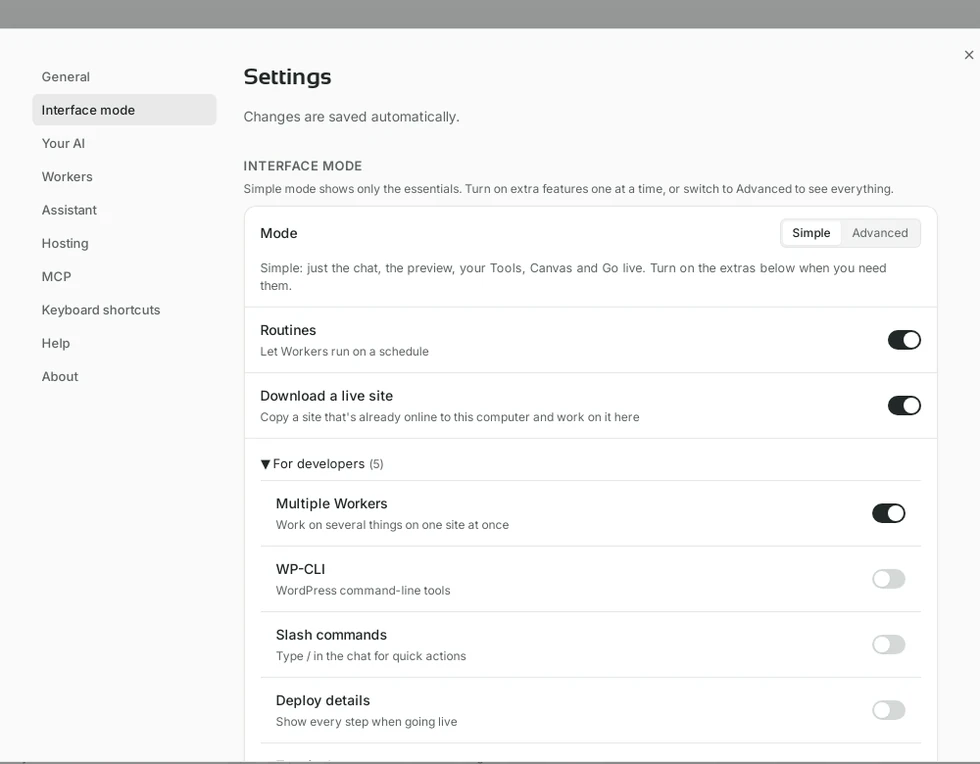
Interface mode is its own tab in Settings. -
What Simple keeps on screen
In Simple the note says: just the chat, the preview, your Tools, Canvas and Go live. Turn on the extras below when you need them. Restore points, choosing the AI engine and model, and the usage meter stay available without a toggle — they are always on.
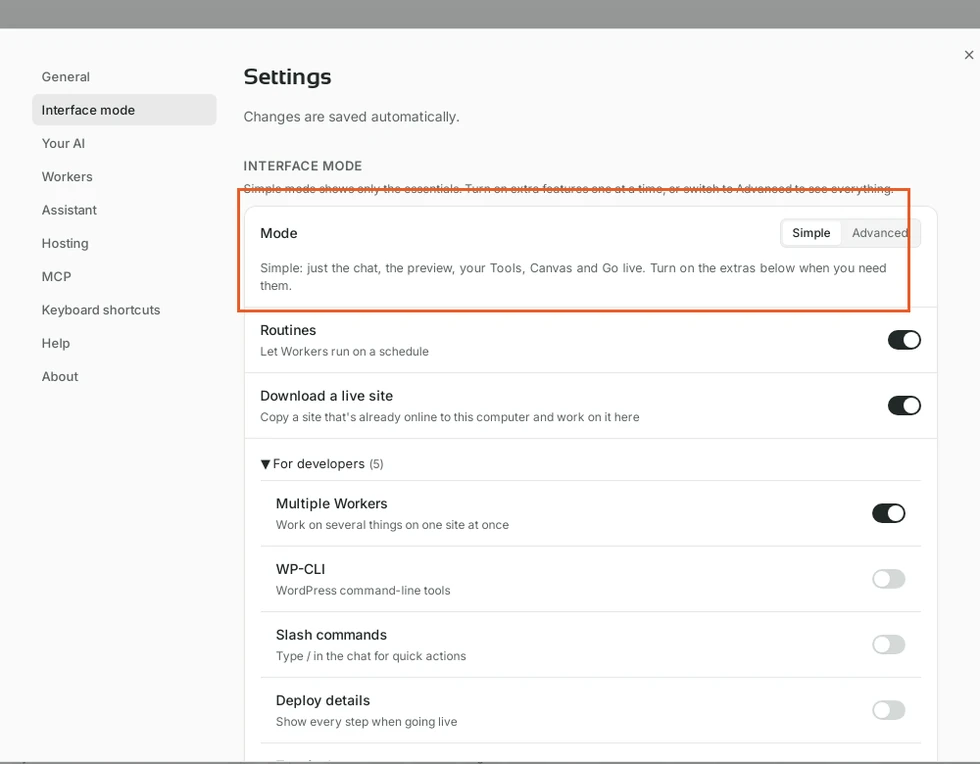
The note under Mode spells out what Simple shows. -
Turn on extras one by one
Under the note, Simple lists switches for extras you may want without leaving Simple. For example Download a live site (copy a site that is already online to this computer) or Routines (let Workers run on a schedule). Flip a switch when you need that feature; flip it off again when you do not.
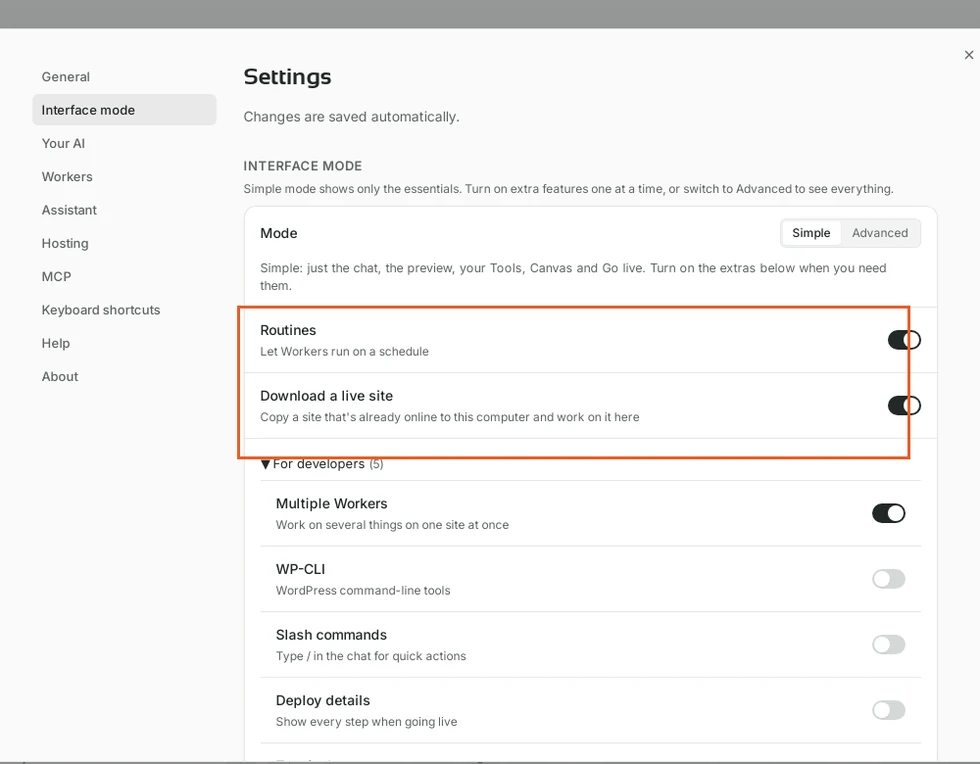
Each extra has its own switch in Simple. -
For developers
Technical switches sit under a folded group labeled For developers. Open it to turn on Multiple Workers, WP-CLI, Slash commands, Deploy details, and Terminal output. The group opens itself if any of those are already on. Skills, Routines and the MCP tool catalog stay out of the Simple list unless you unlocked them elsewhere — Advanced shows them in Settings.
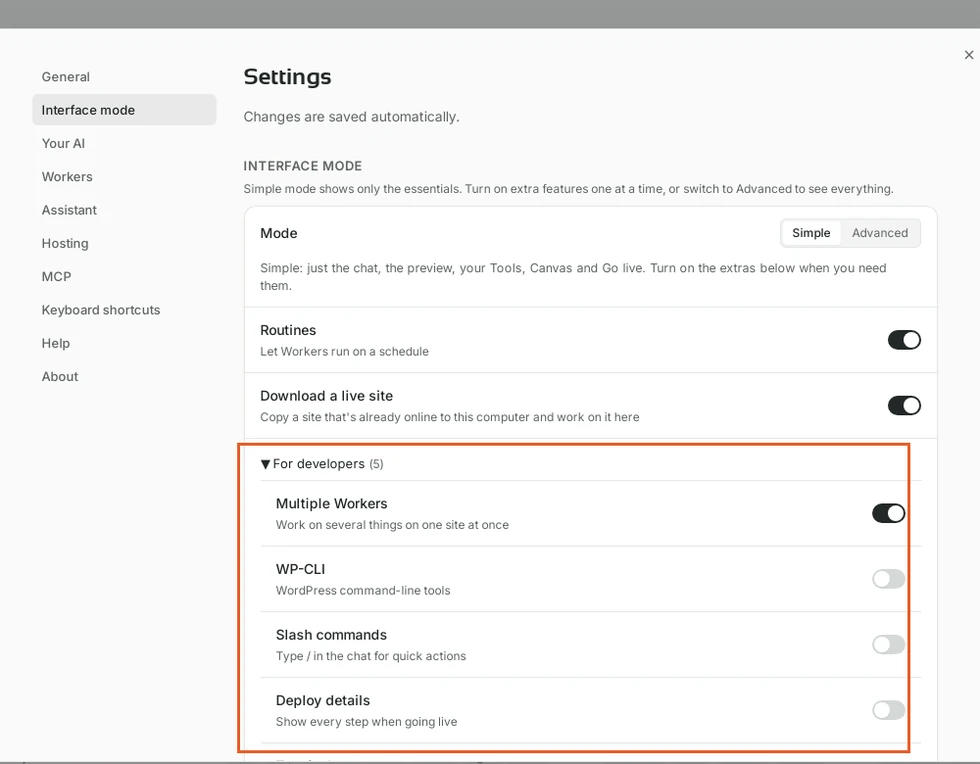
For developers folds the technical switches in Simple. -
Switch to Advanced
Click Advanced on the Mode control. The note changes: every tool is shown (several Workers, AI engines, terminal…). The Simple feature list and For developers group disappear from this tab, because everything is available. You can switch back to Simple any time.
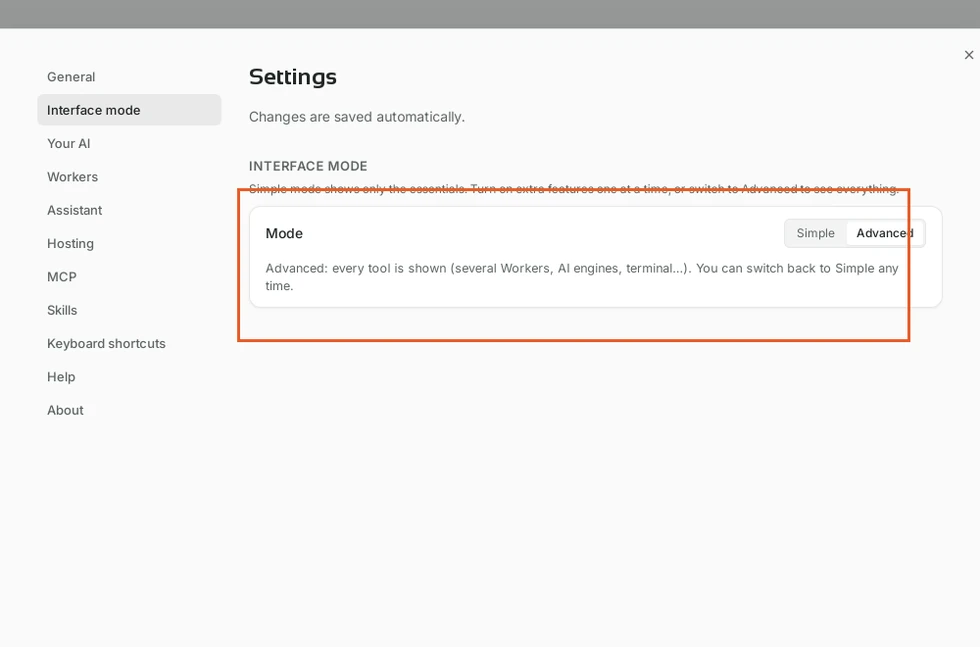
Advanced turns every tool on at once. -
What Advanced unlocks in Settings
With Advanced on, other Settings tabs show the full controls. Your AI becomes a table with a row per AI (New Workers, status, model). Workers shows limits like Max Workers running at once, restore points kept per site, Running in the background, and WP-CLI status. Skills and MCP also appear in the Settings list.
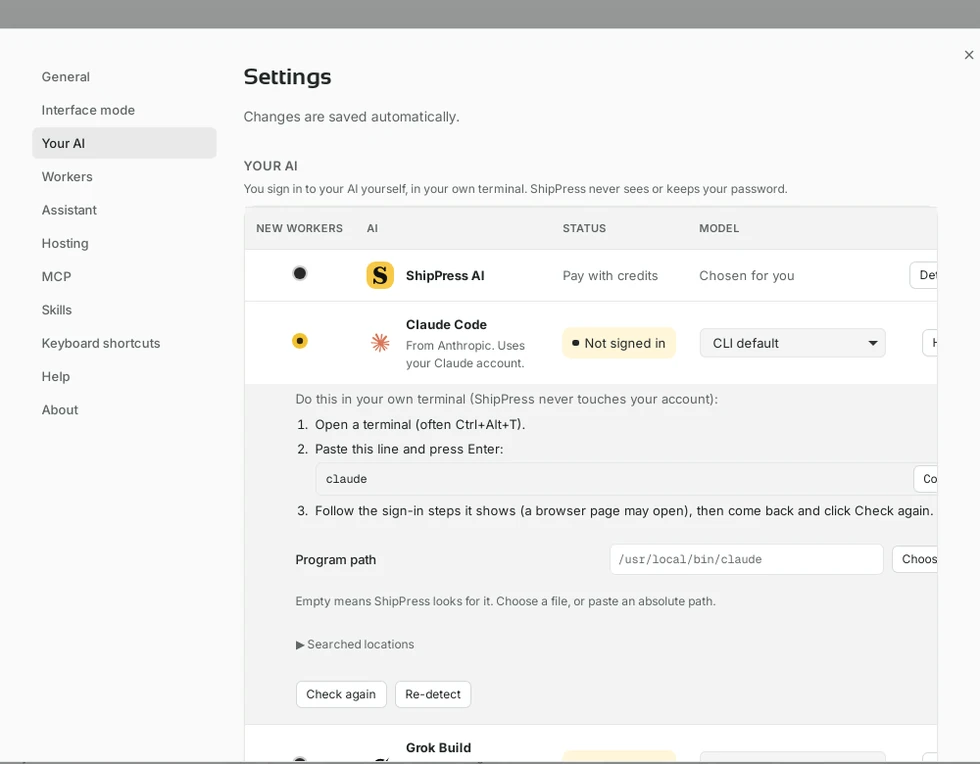
Your AI shows a full table in Advanced. 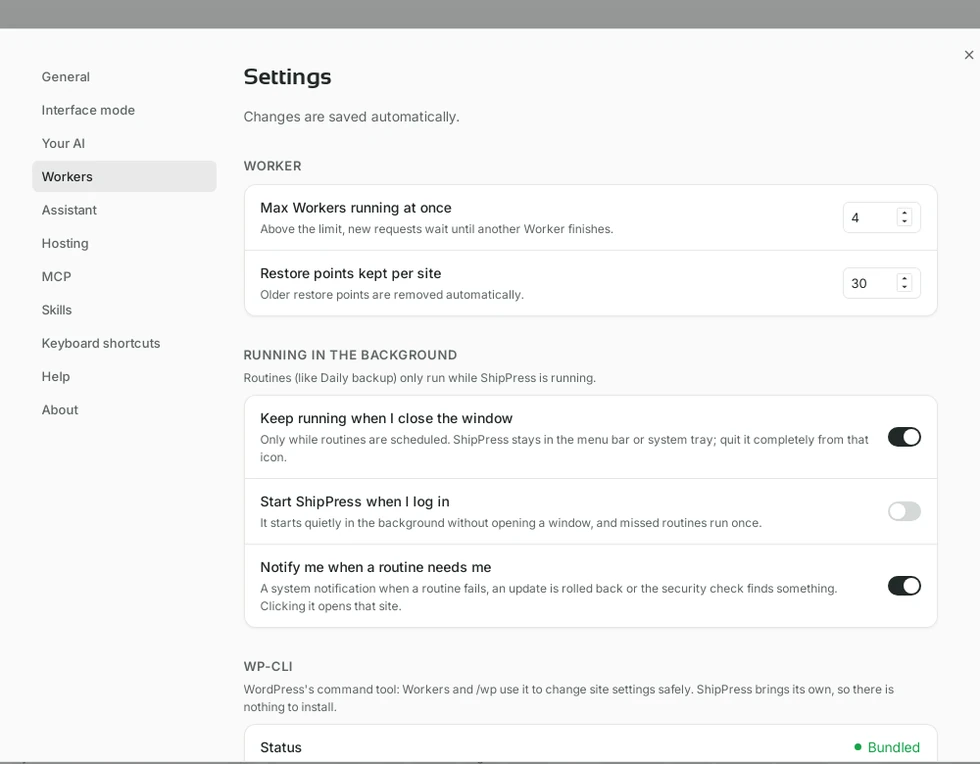
Workers and background options appear in Advanced. -
Good to know
- Simple is the default for new installs. You can mix: stay in Simple and only enable the extras you use.
- Restore points, AI engine and model choice, and the usage meter have no Simple toggles — they stay available in both modes.
- Feature names match the switches: Multiple Workers, Slash commands, Download a live site, WP-CLI, Deploy details, Terminal output.
- ShipPress runs on Mac, Windows (from v0.1.24, code-signed) and Linux (AppImage, from v0.1.34).