
Hostinger: sign up and connect it to ShipPress
This is part 1 of our hosting series. Hostinger is the host ShipPress marks as Recommended for most people. In this guide, you will learn how to get a Hostinger plan, connect it to the ShipPress Mac, Windows & Linux app with a browser sign-in or an API token, and put your WordPress site online.
-
Why Hostinger
In the Which one should I pick? box on the Hosting page, Hostinger is marked Recommended: “Low monthly price, and ShipPress can put your site on it in one step. Right for most people.”
Once connected, ShipPress can work directly with your Hostinger account to:
- List the websites you have on your account.
- Create a new website on a plan you already pay for.
- Put your site online using Go live (transferring Everything or Files only; note that Database only is not available on Hostinger).
- Open your site’s WordPress administration panel already signed in.
- Open the backups page in hPanel.
If you later want to download a site from Hostinger back to your computer, you will need an SSH connection, which is covered in step 6.
-
Sign up and pick a hosting plan
Use the signup button below to go to Hostinger’s WordPress hosting page, choose a plan, and create your account. Because prices and promotions change frequently, compare current options directly on Hostinger’s website.
ShipPress never purchases hosting plans on your behalf. When you create a new website from ShipPress, it is always added to an existing plan on your account. If your account does not have an active plan yet, the dialog will show “Your Hostinger account has no hosting plan yet. A plan is what you pay Hostinger for; ShipPress never buys one for you.” and provide a link to See plans on Hostinger ↗.
Sign up at Hostinger ↗The signup button above is an affiliate link: if you sign up through it, ShipPress may earn a commission, at no extra cost to you (details).
-
Connect Hostinger with a browser sign-in
- In the ShipPress sidebar, click Hosting. Alternatively, open your site and click Go live → WordPress host → Choose a hosting provider.
- Click Connect on the Hostinger row. If you are viewing the Which one should I pick? card, click Connect Hostinger.
- The dialog explains: “Sign in to Hostinger in your browser, so ShipPress can put your site there.” Click Sign in with Hostinger ↗.
- Your browser opens the Hostinger sign-in page. Log in to your Hostinger account and authorize the connection. While ShipPress waits, the button changes to Waiting for browser… and the window displays: “A Hostinger sign-in page opened in your browser. Sign in there, then come back here. Changed your mind? Click Cancel.”
- Once approved, return to ShipPress. Hostinger is now connected.
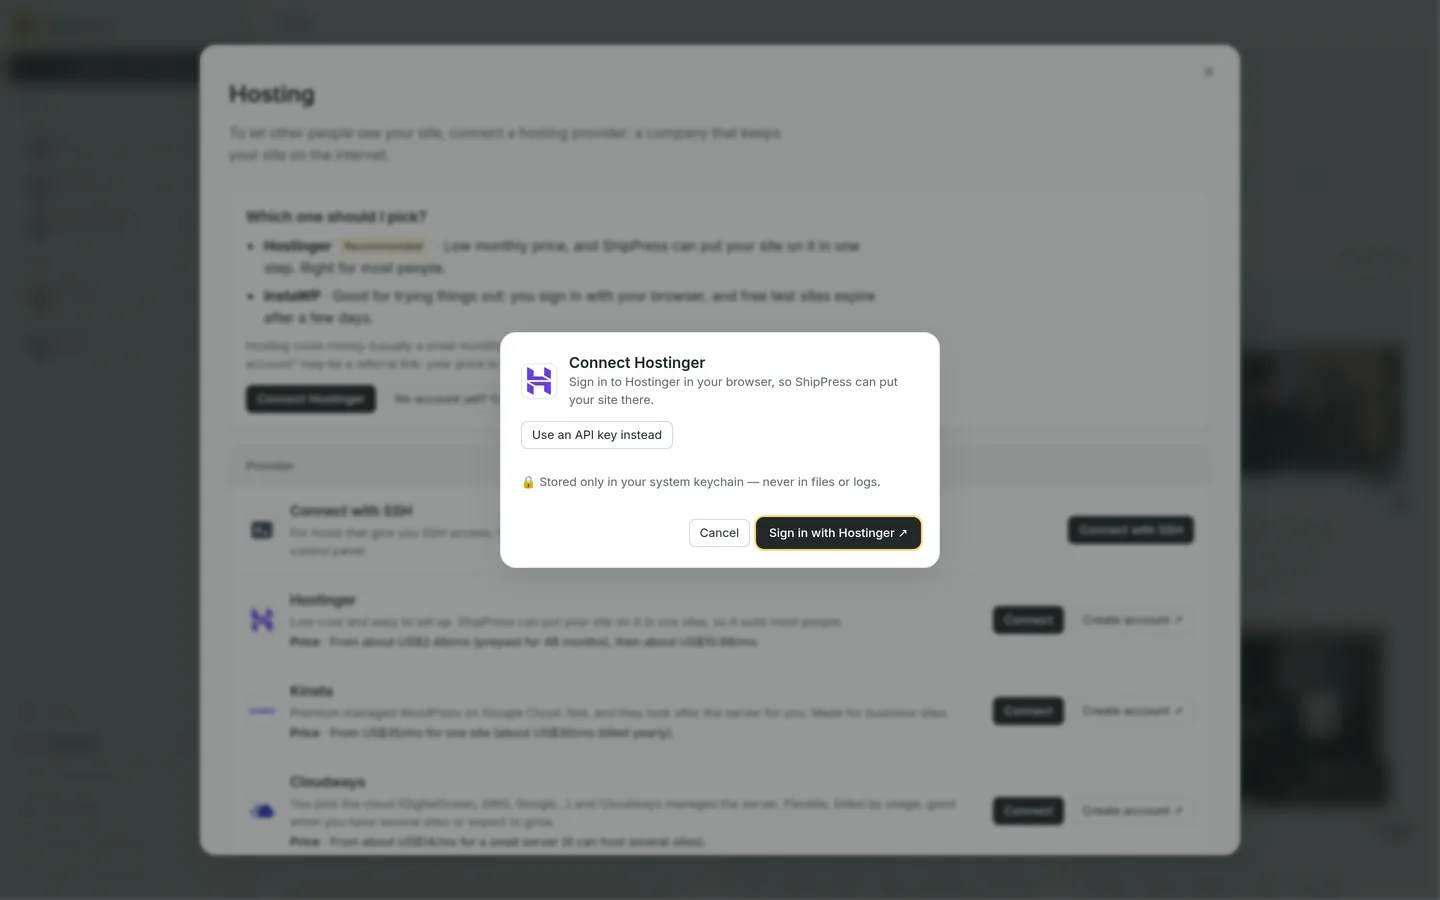
Browser sign-in is the usual way to connect Hostinger. -
Or connect with an API token
- If you prefer not to use the browser sign-in, click Use an API key instead in the connection dialog.
- In ShipPress, click Make an API key on Hostinger ↗ to open your hPanel dashboard directly. Alternatively, open hPanel in your browser and navigate to Account → API.
- Click Generate new token, enter a name, and copy the token immediately. Hostinger displays it only once, as explained in Hostinger’s security guide under the API tokens section.
- Return to ShipPress and paste the token into the API key (API token) field (with placeholder “Paste the key from Hostinger hPanel → Account → API”).
- Click Connect. If you decide to switch back to the browser method, click Sign in with Hostinger instead. Always treat this token like a password and keep it safe.
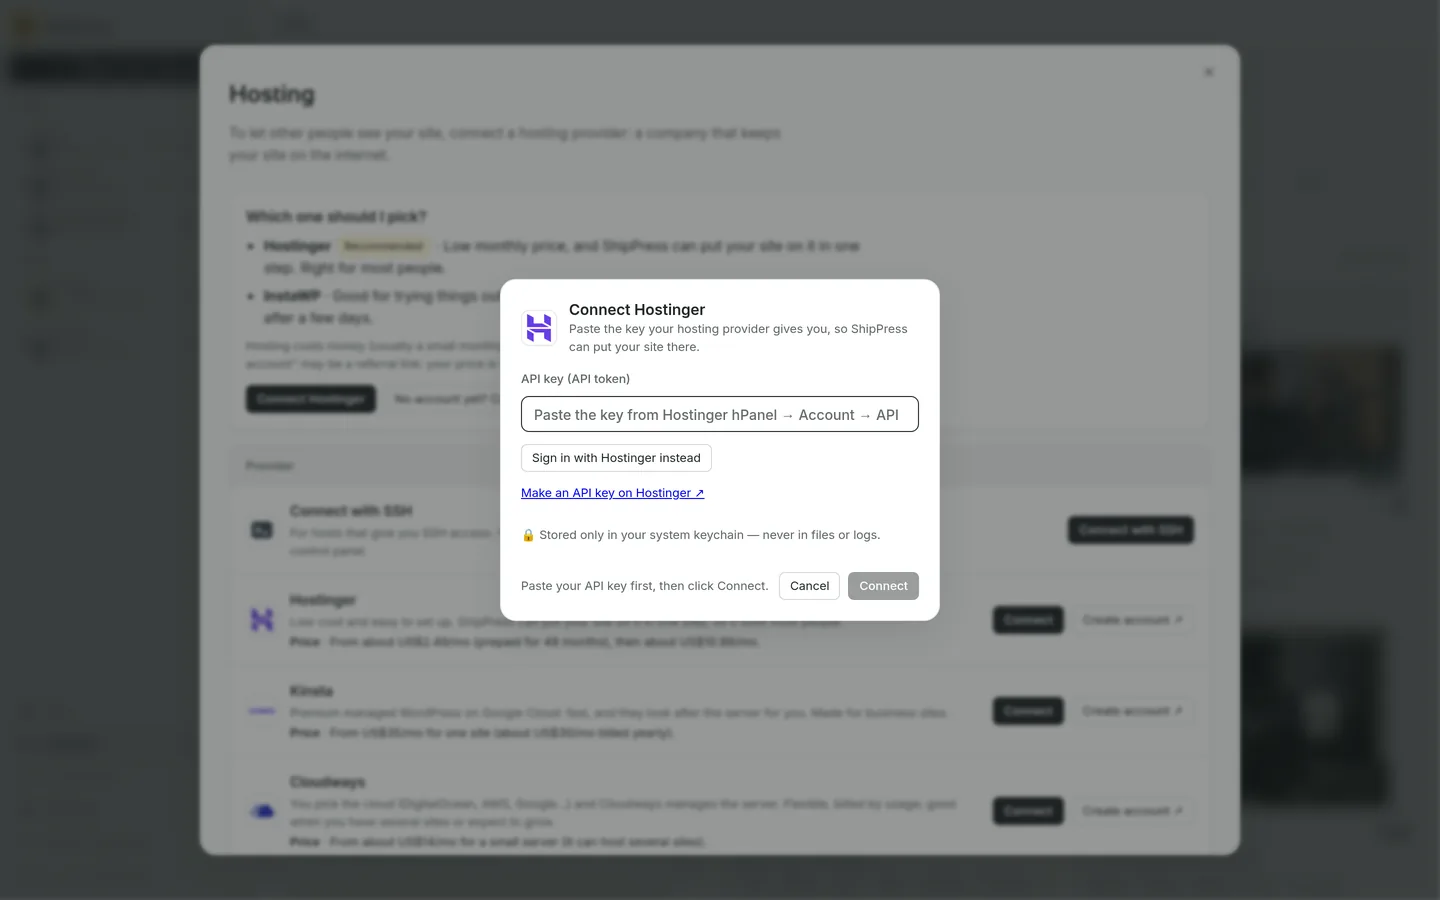
You can paste an API token instead of signing in with the browser. -
Make a website and go live
- Open your local site in ShipPress and click Go live → WordPress host → Hostinger.
- If you already have a website created on Hostinger, select it under Which web address.
- If you do not have a website on Hostinger yet, click New website on Hostinger. Enter your domain (such as mysite.com) under Web address, choose your hosting package under Which plan, and click Create website (the button displays Creating… while processing). The dialog notes: “This uses one website slot on that plan. Use a domain you own, or connect one later.”
- Wait a few minutes while Hostinger provisions the site. Once ready, select the domain under Which web address.
- Click Replace and go live. Note the overwrite warning before proceeding; you can read our guide on what gets replaced to see how files and database tables are handled.
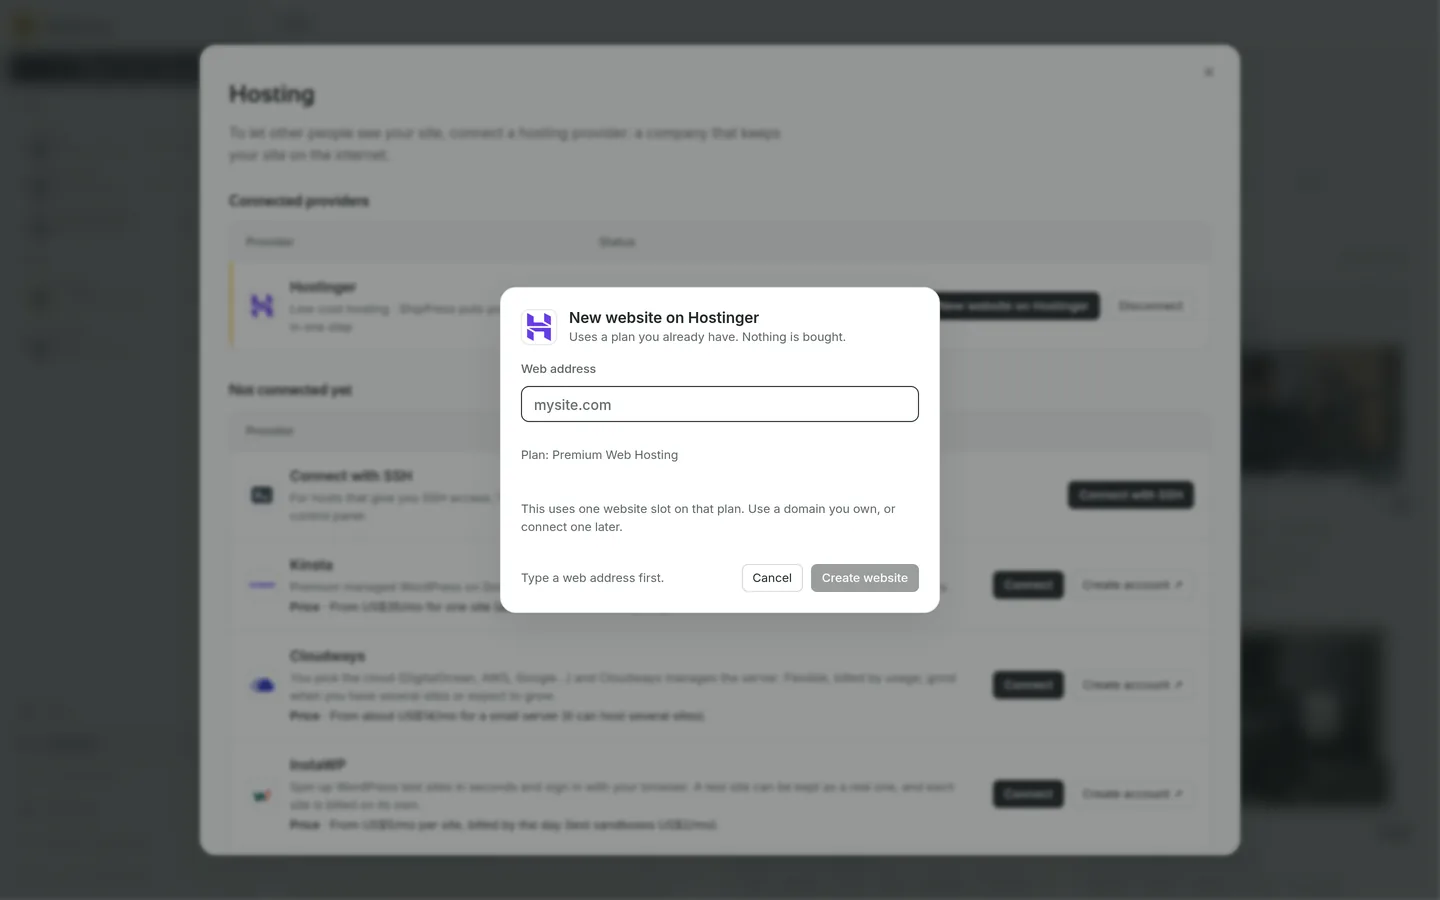
If the host has no site yet, create one from this dialog. 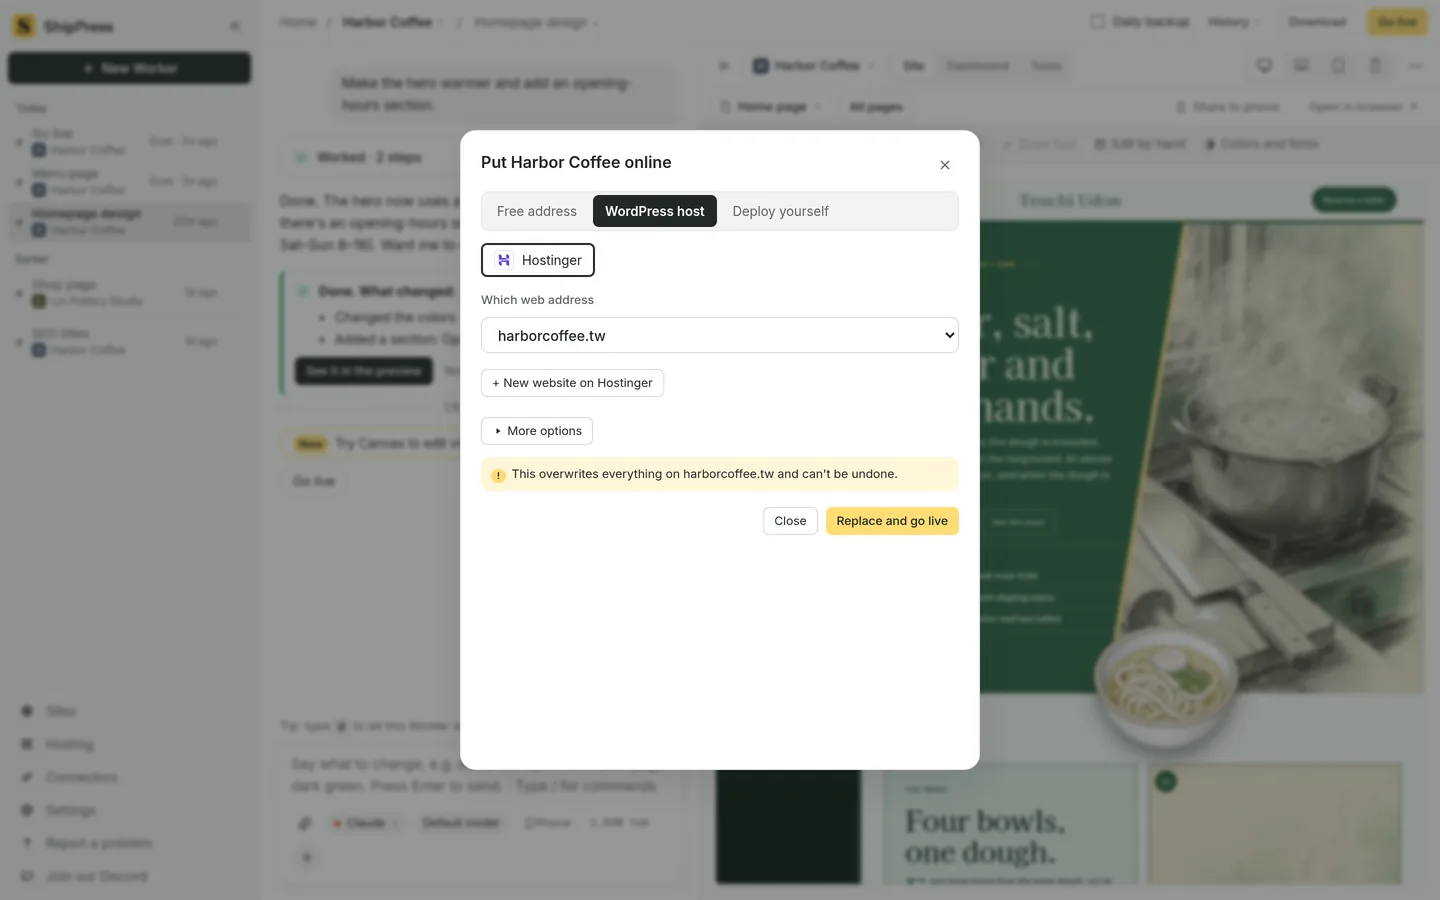
Go live → WordPress host lets you pick the address and confirm. -
After it's live
After your site is live, go to Sites → Online. On your Hostinger site row, you will find:
- WordPress admin ↗: opens your site’s wp-admin dashboard in your browser, already signed in.
- Backups ↗: opens the backups management page in hPanel, where you can create or restore backups.
- Open ↗: opens the live website in your browser.
On the Hosting page, the Hostinger row notes: “Pulling a Hostinger site to this computer needs SSH.” and provides a Connect with SSH button. To enable SSH access, follow Hostinger’s SSH guide (availability depends on your plan). Then copy the server IP, port, and username into the dialog. ShipPress automatically suggests port
65002and the standard WordPress path/home/<username>/domains/<your domain>/public_html. For more details on importing sites, see our guide on downloading a site.To disconnect your account, click Disconnect on the Hostinger row. If you connected with the browser sign-in, ShipPress also cancels that sign-in's access at Hostinger. If you used an API token, you can delete or revoke the token directly in hPanel under Account → API.
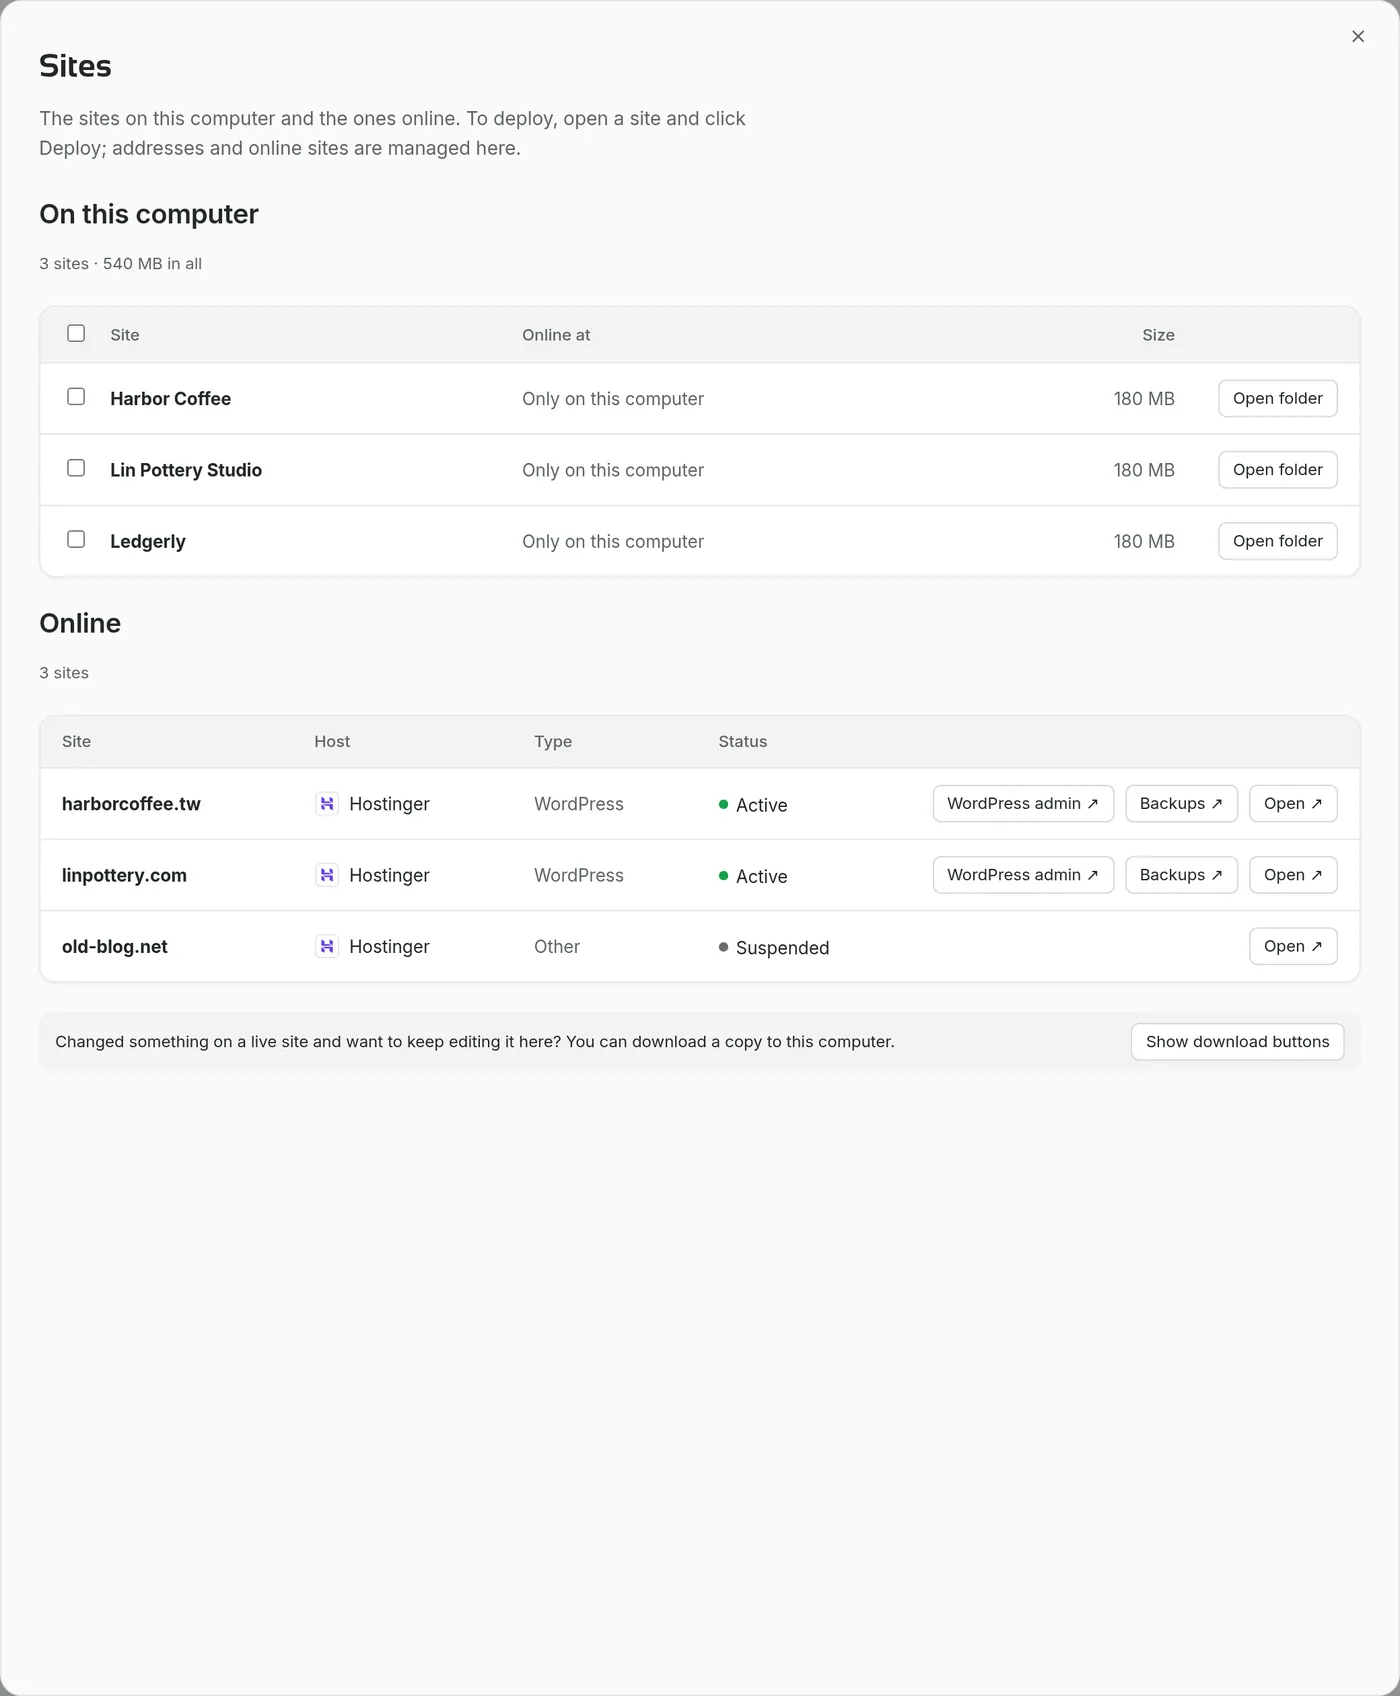
After a site is live, Sites → Online has WordPress admin, Backups and Open. -
Next in the series
Continue exploring our guides to learn more about hosting and publishing: