
xCloud: sign up and connect it to ShipPress with an API token
This is part 6 of our hosting series. xCloud is a control panel that manages WordPress servers for you. Sign up, create a WordPress site in xCloud, make an API token, paste it into the ShipPress Mac, Windows & Linux app, and go live.
-
What ShipPress does with xCloud
In ShipPress, xCloud is described as: “A control panel that manages WordPress servers for you: use your own cloud server or rent one from them, and put many sites on it.”
Once connected, ShipPress lists your WordPress sites on xCloud. You can put your site online using Everything, Files only, or Database only, download sites back to your computer, and open the WordPress admin already signed in.
Publishing and downloading go over SSH. ShipPress automatically adds its own SSH key to the site through xCloud’s API while keeping any existing keys in place. Note that ShipPress cannot create a new site on xCloud, so you need to create the site in your xCloud dashboard first.
-
Sign up and create a WordPress site
To get started, use the signup button below. You can compare available server options on the xCloud pricing page. Note that xCloud requires a payment method on file before it sets up servers.
Once your account and server are ready, create a WordPress site in your xCloud dashboard. For step-by-step instructions on setting up your site, follow the official xCloud site creation guide.
Sign up at xCloud ↗The signup button above is an affiliate link: if you sign up through it, ShipPress may earn a commission, at no extra cost to you (details).
-
Create an API token
ShipPress communicates with xCloud through an API token. To generate one, follow the steps from the xCloud API guide:
- In the xCloud dashboard, click Settings, then Developers, and select API Tokens.
- Click Create New Token.
- Enter a Token Name (such as “ShipPress”).
- Choose the permissions. ShipPress notes: “When you make the token, tick read:servers, read:sites and write:sites. Downloads and deploys go over SSH: ShipPress adds its own SSH key to the site and keeps the keys already there.” Choosing Full Access also works.
- Click Create Token.
Copy the token right away and save it somewhere secure. xCloud displays the token only once.
-
Paste the token into ShipPress
- In the ShipPress sidebar, click Hosting.
- Find the xCloud row and click Connect. You can also click Make an API key on xCloud ↗ to open the token page directly in your browser.
- Paste your token into the API key (API token) field (showing the placeholder “Paste the token from xCloud → Account → API Tokens”).
- Click Connect. The button shows Verifying… while ShipPress tests the connection.
Secrets you paste are stored only in your system keychain, never in files or logs, and the AI never sees them.
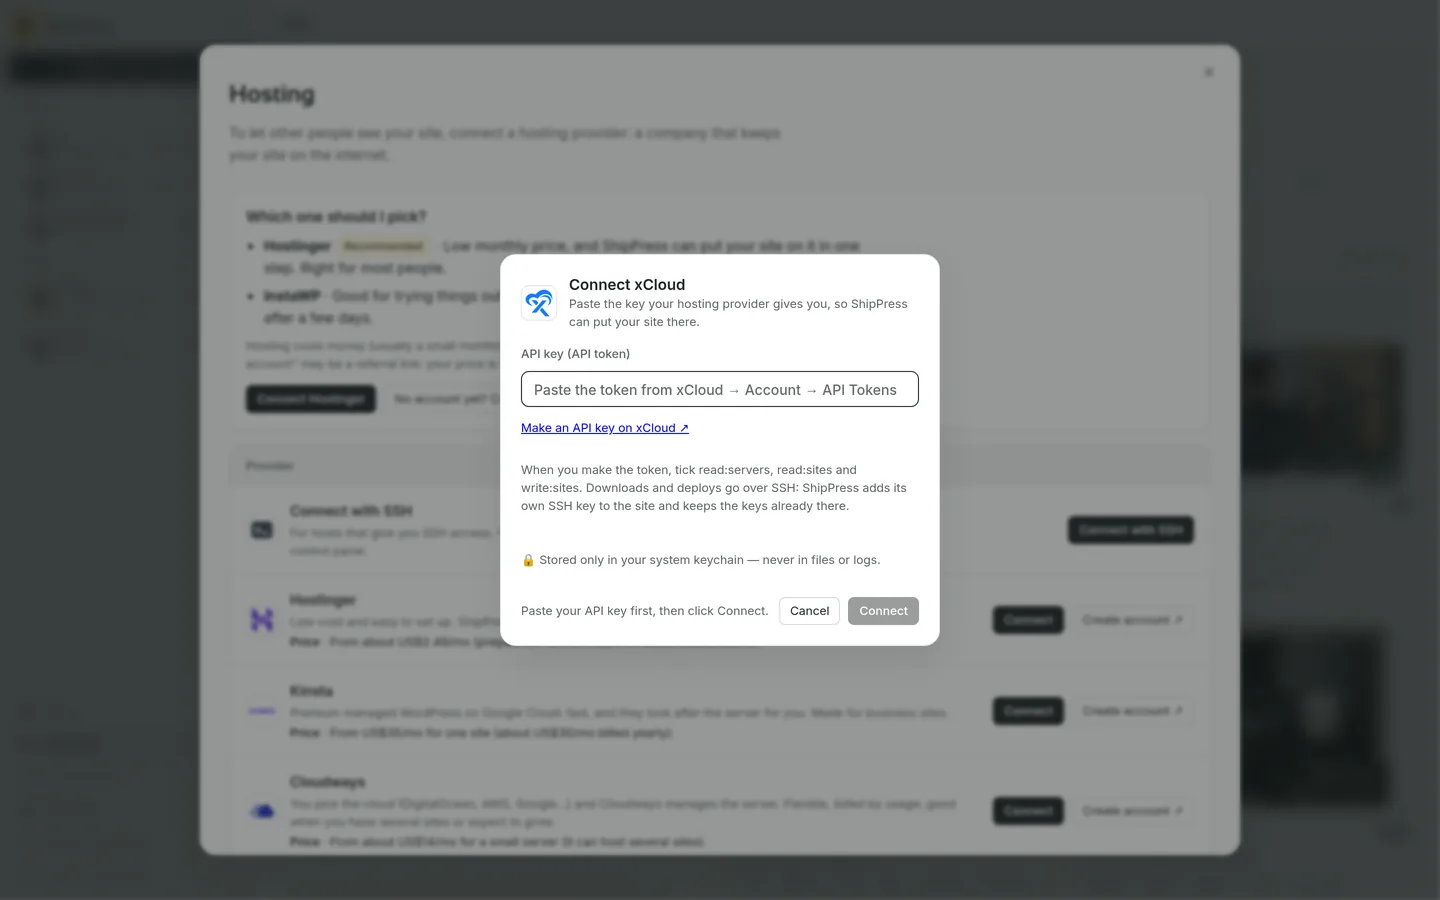
Paste the xCloud API token, then click Connect. -
Switch the site to SSH keys, then go live
xCloud does not share SSH passwords, so your site must authenticate using SSH keys. If your site is set to use a password, ShipPress pauses and asks you to switch it: in xCloud, open your site, go to SSH/SFTP, and switch Authentication to SSH key. Keep any existing keys there; ShipPress will add its own key alongside them. For details, consult the xCloud guides on configuring SFTP access and adding SSH keys.
xCloud applies new keys in the background, so the initial connection can take up to about a minute.
When you are ready to publish:
- Open your site in ShipPress and click Go live.
- Select the WordPress host tab and click xCloud.
- Under Which web address, choose your site address.
- Click Replace and go live.
-
After it's live
Once your site is online, go to Sites and select Online. Next to your xCloud site, you will see WordPress admin ↗ to open your dashboard already signed in, and Open ↗ to view the public website. Clicking Download to this computer pulls the live site back into ShipPress (learn more in our guide on how to download a site from your host).
If you click Disconnect on the xCloud row in Hosting, ShipPress forgets the token and saved site connections on this computer. Your live websites continue running. ShipPress’s SSH key remains on the server until you delete it in xCloud under SSH/SFTP, and you can remove the token under API Tokens in your xCloud dashboard.
-
Next in the series
Explore the other guides in this series and related tutorials: