
Kinsta: sign up and connect it to ShipPress with an API key
In part 4 of our hosting series, we look at Kinsta, a premium managed WordPress host built on Google Cloud. Get a plan, add a WordPress site in MyKinsta, create an API key, paste it into the ShipPress Mac, Windows & Linux app, then go live.
-
What ShipPress does with Kinsta
In the app, Kinsta is described as “Premium managed WordPress on Google Cloud: fast, and they look after the server for you. Made for business sites.”
With an API key, ShipPress connects to Kinsta to:
- List your Kinsta sites (each site’s live environment; staging environments are not listed).
- Go live with your site, choosing Everything, Files only, or Database only.
- Download a live site back to your computer.
- Open your live WordPress admin ↗ already signed in.
Downloads and publishing run over SSH using the SFTP/SSH login credentials Kinsta provides. ShipPress retrieves these credentials automatically through the API, so you never have to type them manually. Note that ShipPress cannot create a new site on Kinsta directly; you need to add the site in MyKinsta first.
-
Sign up and add a WordPress site
To get started, use the signup button below. You can compare available plans on Kinsta’s pricing page.
After opening your account, log in to MyKinsta and add a WordPress site. If you need step-by-step guidance on creating a site, follow the official Kinsta guide. Kinsta’s API requires an account that has at least one WordPress site.
Sign up at Kinsta ↗The signup button above is an affiliate link: if you sign up through it, ShipPress may earn a commission, at no extra cost to you (details).
-
Create an API key in MyKinsta
Follow the steps from Kinsta’s API documentation to generate a key:
- In MyKinsta, click your username, navigate to Company settings, and select API Keys.
- Click Create API Key.
- Choose an expiration period, or specify a custom start date and number of hours.
- Give the key a name and click Generate.
- Copy the key immediately. It is shown only once and cannot be viewed again later.
Company owners, company administrators, and company developers can create API keys, and each key inherits the permissions of the person who created it. As ShipPress notes: Make the key as a company owner, administrator or developer. Downloads and deploys go over SSH with the SFTP/SSH login Kinsta gives.
-
Paste the key into ShipPress
- In ShipPress, click Hosting in the sidebar.
- Find the Kinsta row and click Connect to open Connect Kinsta. You can also click Make an API key on Kinsta ↗ to open the API Keys page directly in your browser.
- Paste your key into the API key (API token) field (placeholder “Paste the key from MyKinsta → Company settings → API Keys”).
- Click Connect. The button shows Verifying… while ShipPress validates the key.
Secrets you paste are stored only in your system keychain, never in plain files or logs. If the key has expired or was revoked, ShipPress lets you know that the key is not active and asks for a new one.
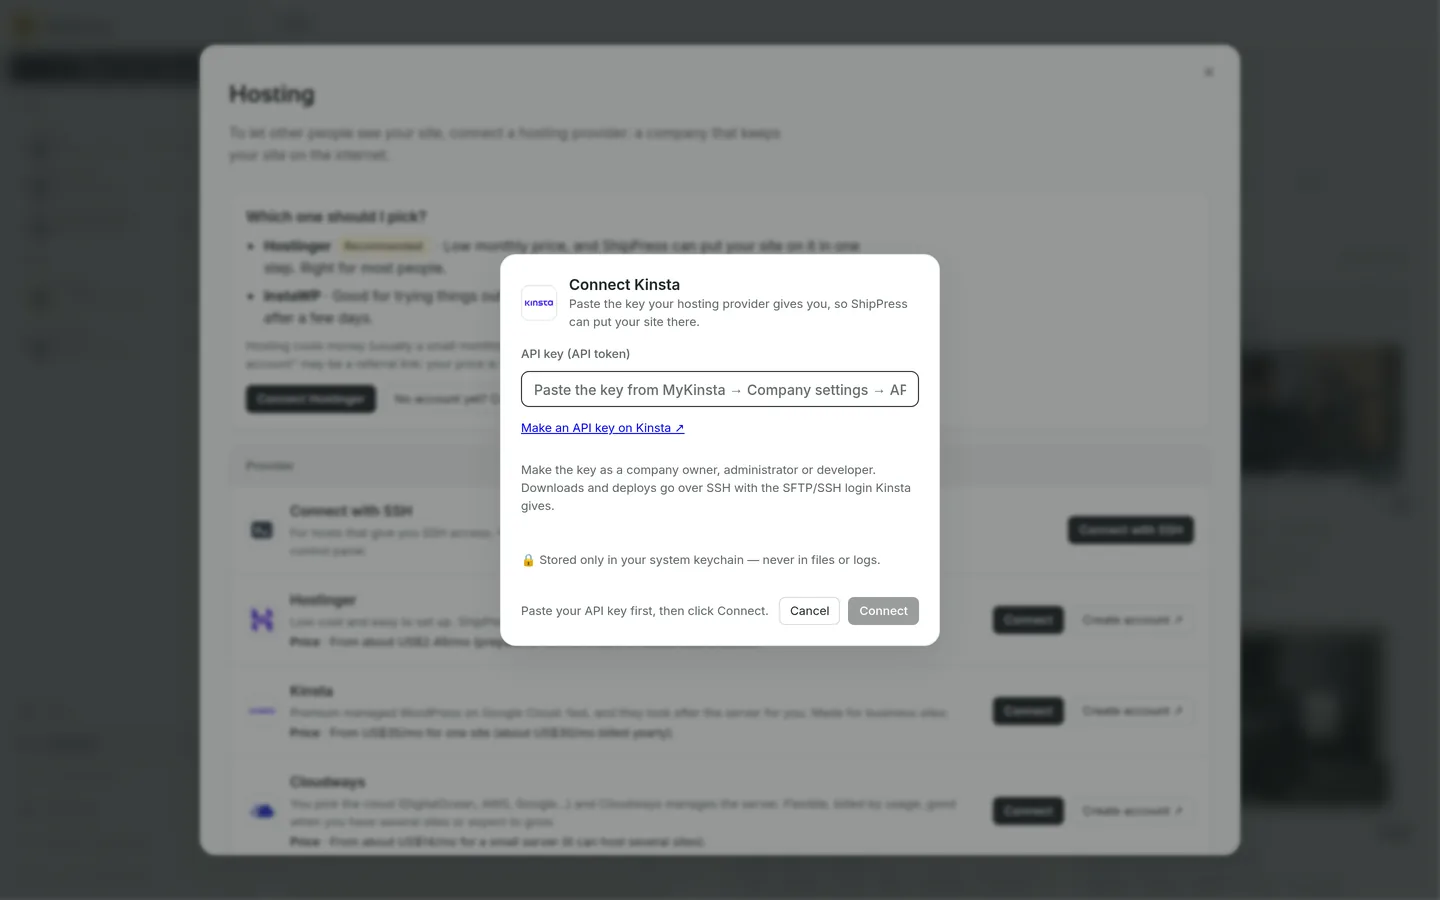
Paste the API key from MyKinsta, then click Connect. -
Go live
- Open your site in ShipPress and click Go live.
- Select the WordPress host tab, then choose Kinsta.
- Under Which web address, select your target Kinsta site.
- Under More options, choose whether to transfer Everything, Files only, or Database only.
- Click Replace and go live. The button changes to Going live… while files and database transfer. Keep ShipPress open until the process finishes.
- When finished, click Done.
If you do not have any site on Kinsta yet, Go live prompts you to create one on Kinsta first. ShipPress connects using SFTP/SSH password authentication. If password access is disabled on Kinsta, ShipPress will ask you to check MyKinsta → Sites → your site → Info to make sure SFTP/SSH password access is turned on. For more details, consult Kinsta’s SSH guide.
-
After it's live
In ShipPress under Sites → Online, your connected Kinsta site shows shortcuts to WordPress admin ↗ (which logs you in automatically) and Open ↗ to view the public site. If you need to bring changes back to your local environment, click Download to this computer (see our guide on downloading a site from your host).
If you ever want to disconnect Kinsta, click Disconnect on the provider row. ShipPress displays the confirmation ShipPress forgets the sign-in on this computer. Your live websites keep running; you can connect again any time. Disconnecting only removes the credentials from this computer. To permanently cancel the key, click Revoke next to it in MyKinsta on the API Keys page.
-
Next in the series
- Next: Cloudways with an Access Token
- Previous: SiteGround
- Series overview: Get a web host and connect it to ShipPress
- Go live
- Download a site from your host