
Change the fonts on your whole site by chatting
Fonts set the mood of a site as much as colors do. A design that came with an elegant serif may not fit a modern shop, and small body text is hard to read on a phone. In WordPress you would open the Site Editor, find Styles, add font files and set each element by hand. In ShipPress you name the fonts in the chat and the AI changes the whole site at once. In this tutorial I switch Pier 7 Coffee from a classic serif to a bold, modern sans-serif and make the body text easier to read.
-
Look at your current fonts first
Open your site in ShipPress and scroll the preview to a part with both a heading and normal text. On Pier 7 Coffee the headings use a thin, classic serif and the paragraph text is small. Decide what you want to change: the headings, the body text, or both, and whether the text should be bigger.
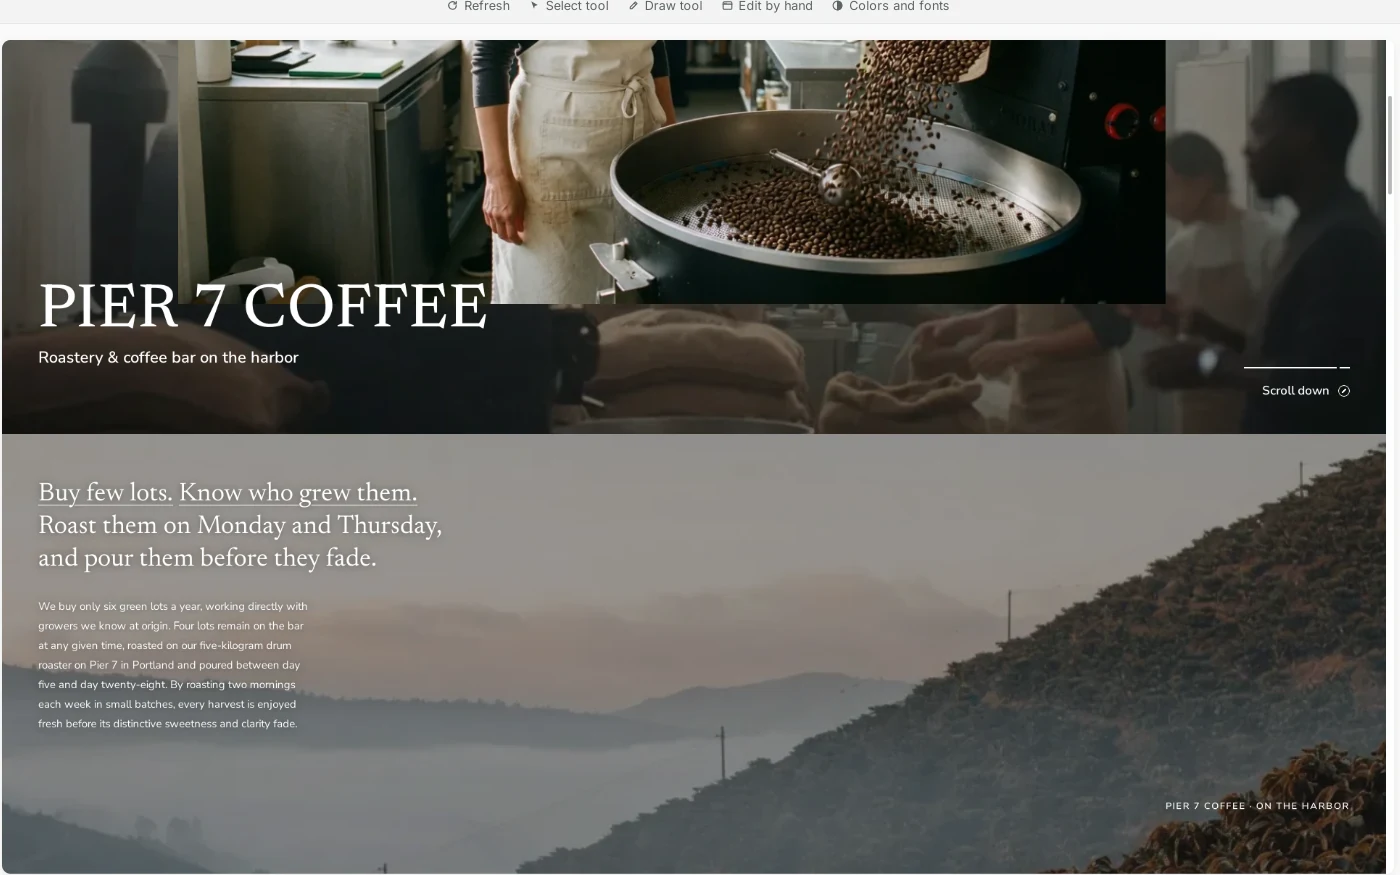
Before: thin serif headings and small body text. -
Name the fonts in one message
Click into the chat box at the bottom left and describe the change. Put these in the same message:
- The heading font, here “Jost, bold”.
- The body font and size, here “Inter, a bit larger and easier to read”.
- Where the fonts come from. WordPress's own Twenty Twenty-Four theme already includes Jost and Inter on your site, so I asked the AI to use those files and not Google Fonts. Your site then loads its fonts from itself.
- What stays: “Keep the colors, photos and layout the same”.
- Where it applies: “every page, the menu and the footer”.
Press Enter to send.
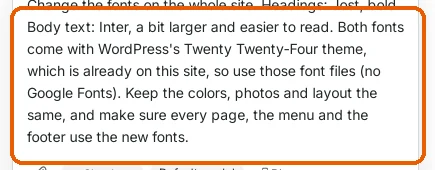
One message: heading font, body font, size, and what to keep. -
Let the AI work
The AI changes the site's font settings in a few steps: it sets the two fonts in your theme's font settings for headings and body text, then updates the places that set their own font, such as the site title, the menu and the footer. You can follow the steps in the chat. For Pier 7 Coffee this took about two and a half minutes.
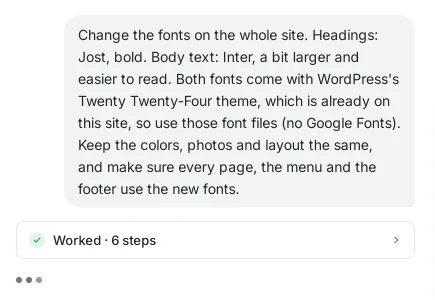
The steps show up in the chat while the AI works. -
Read what changed
When it's done, the AI sums up the change: headings, including the site title and the phone menu, are now Jost bold; body text, the menu and the footer links are Inter; the body text went from 15px to 17px and smaller descriptions from 14px to 16px; colors, photos and layout are unchanged. Below are buttons with possible next steps, such as Make body text even bigger.
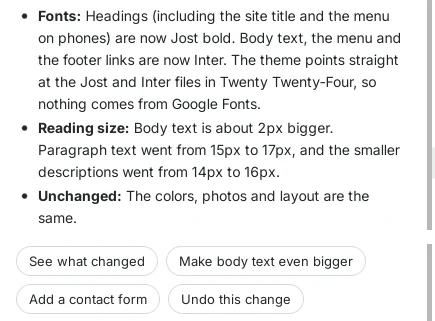
The summary lists the new fonts and sizes. -
Compare before and after
Look at the same part of the page again. The heading is now a bold, modern sans-serif that reads clearly over the photo, and the paragraph text is larger with more space between the lines. The photos, colors and layout are exactly where they were: only the type changed.
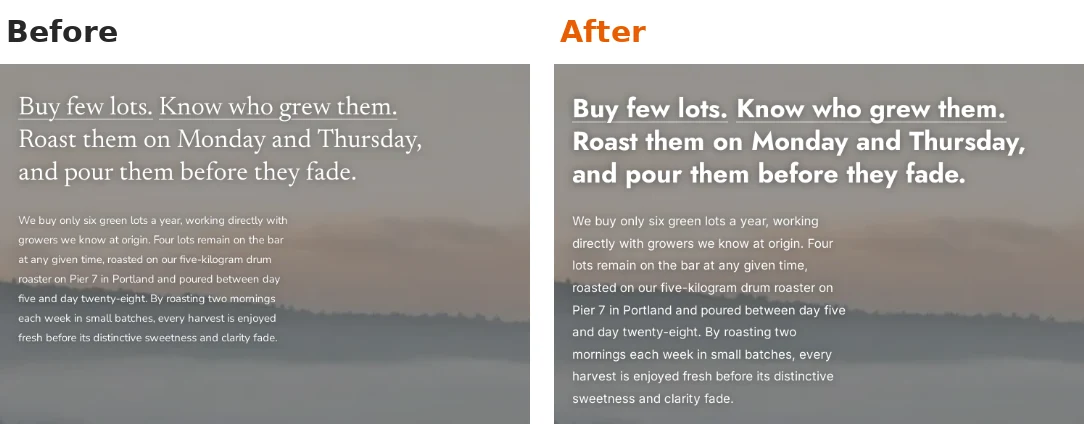
Same text, new fonts: bold Jost headings and larger Inter body text. 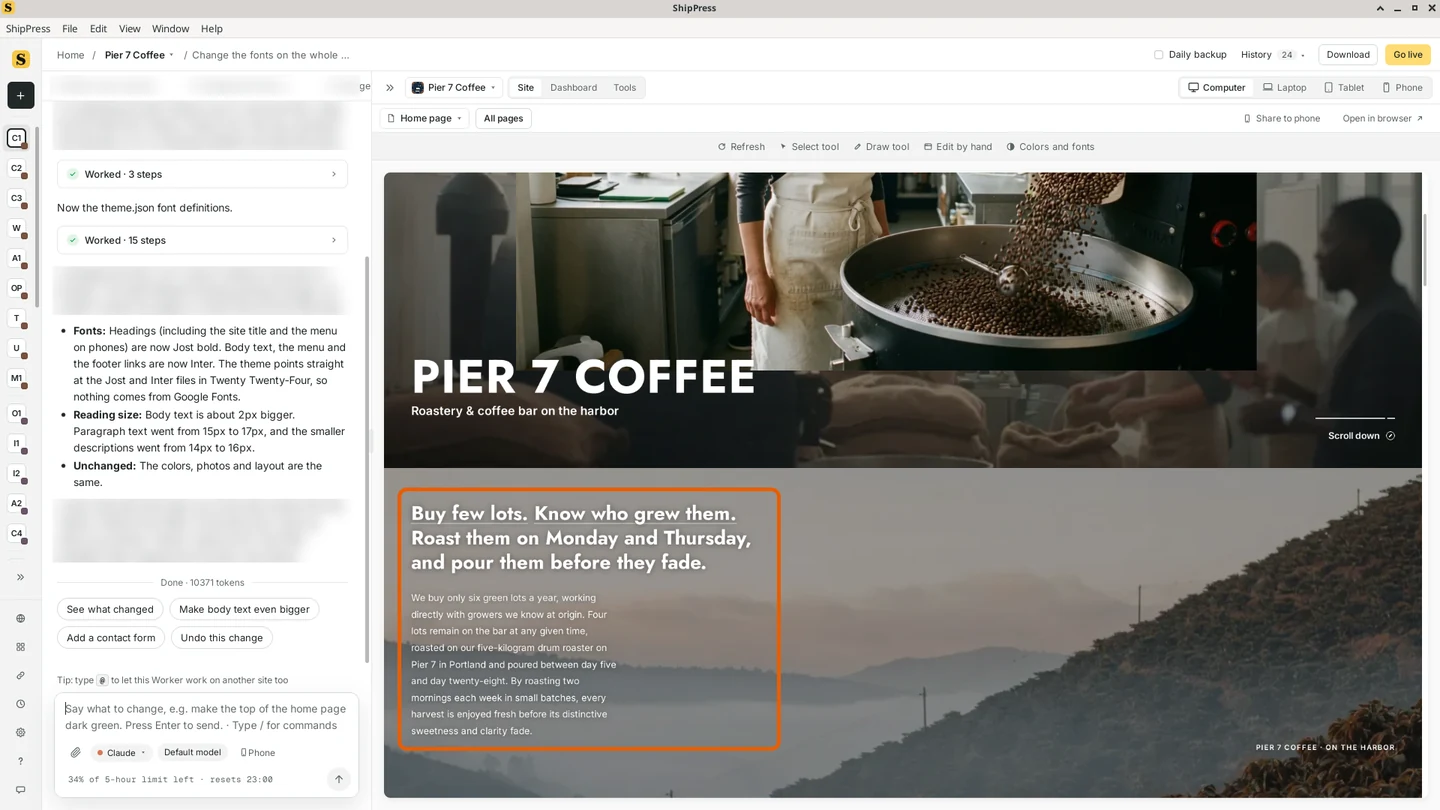
The whole home page now uses the new fonts. -
Check other pages, and on Phone
A font change should reach every page, not just the home page. Open a few other pages from the page list at the top left of the preview. On the Bar Menu page, the page title, the section titles, the drink names and the prices all use the new fonts.
Then click Phone at the top right of the preview. Larger body text matters most on a small screen, so check that headings don't break into too many lines and that the text is comfortable to read.
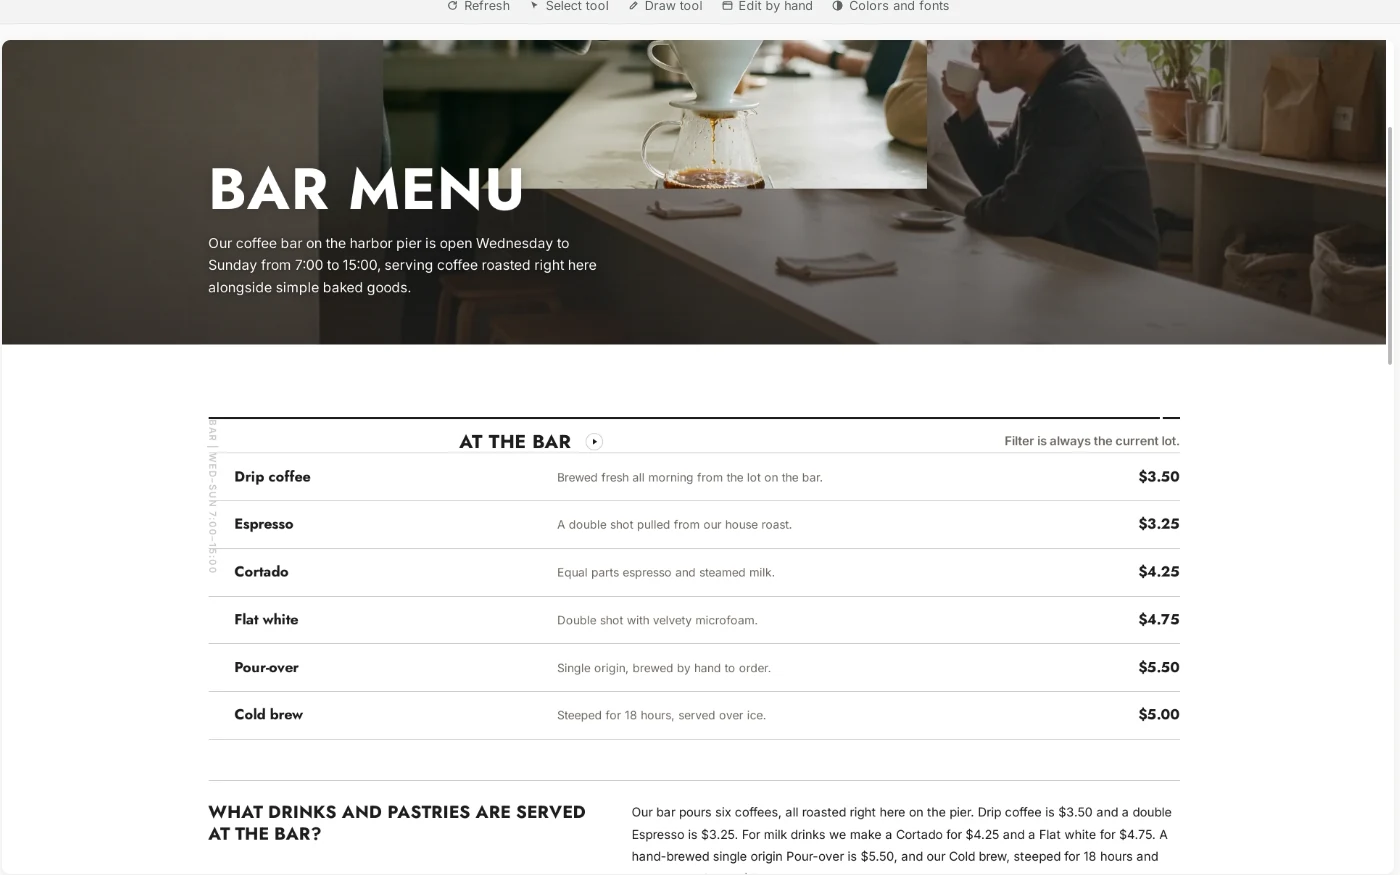
The Bar Menu page uses the new fonts too. 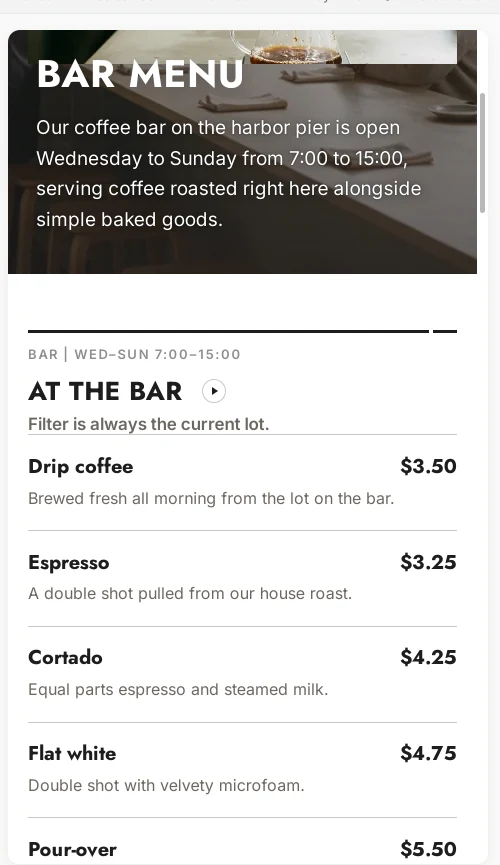
The same page on Phone. -
Fine-tune by hand in Colors and fonts
The AI changed real WordPress style settings, so you can also adjust them yourself. Click Colors and fonts in the toolbar above the preview. It opens the theme's Styles in the WordPress Site Editor. Click Typography: the font list now shows Heading (Jost) and Body (Inter).
Under Elements, click Headings to see the heading font with its line height, letter spacing and letter case. Change something here and click Save, or keep asking in the chat, for example “Make the headings a little less bold”.
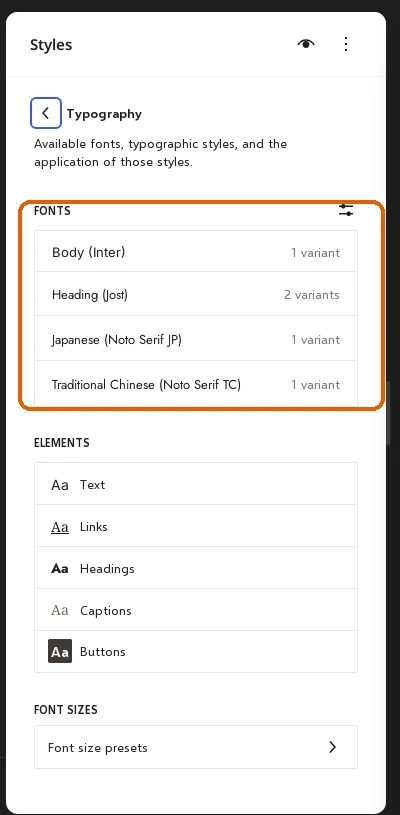
Typography lists the site's fonts. 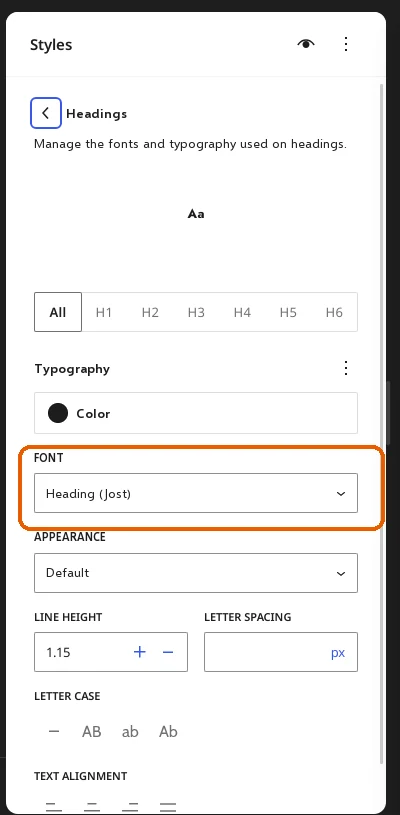
Headings: font, weight, line height and spacing. -
Don't like it? Go back
Every AI change saves a restore point. Click History in the top bar: the font change is there with the time and size. If you prefer the old fonts, click Restore on the step before it, or click Undo this change under the AI's reply right after the change.
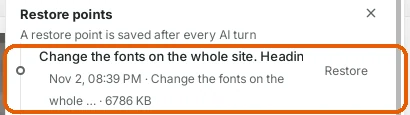
The font change is a restore point. -
Tips
- Two fonts are enough: one for headings, one for body text.
- The easiest fonts to use are the ones that come with WordPress's default themes, which are already on your site. Twenty Twenty-Four has Jost, Inter, Instrument Sans and Cardo; Twenty Twenty-Five has Manrope, Literata, Fira Sans, Vollkorn and more. Keep that theme installed after the change.
- Ask for “a bit larger” body text: 16 to 18px reads well on phones.
- Say what must not change (colors, photos, layout) so the AI only touches the fonts.
- Check a few pages and Phone before you click Go live.