
Edit the footer by chatting
The footer is at the bottom of every page, so it is where visitors look for your address, opening hours, links and social accounts. In WordPress you would open the site editor, find the footer template part and rearrange its blocks one by one. In ShipPress you describe what the footer should have in the chat and the AI changes it for the whole site. In this tutorial I update the footer of Pier 7 Coffee.
-
Look at your current footer
Open your site in ShipPress and scroll the preview all the way down. Note what you want to change. The Pier 7 Coffee footer had the name, address, hours and a long Explore list of eleven links, but no short description of the business, no social links and no quick way back to the top of the page.
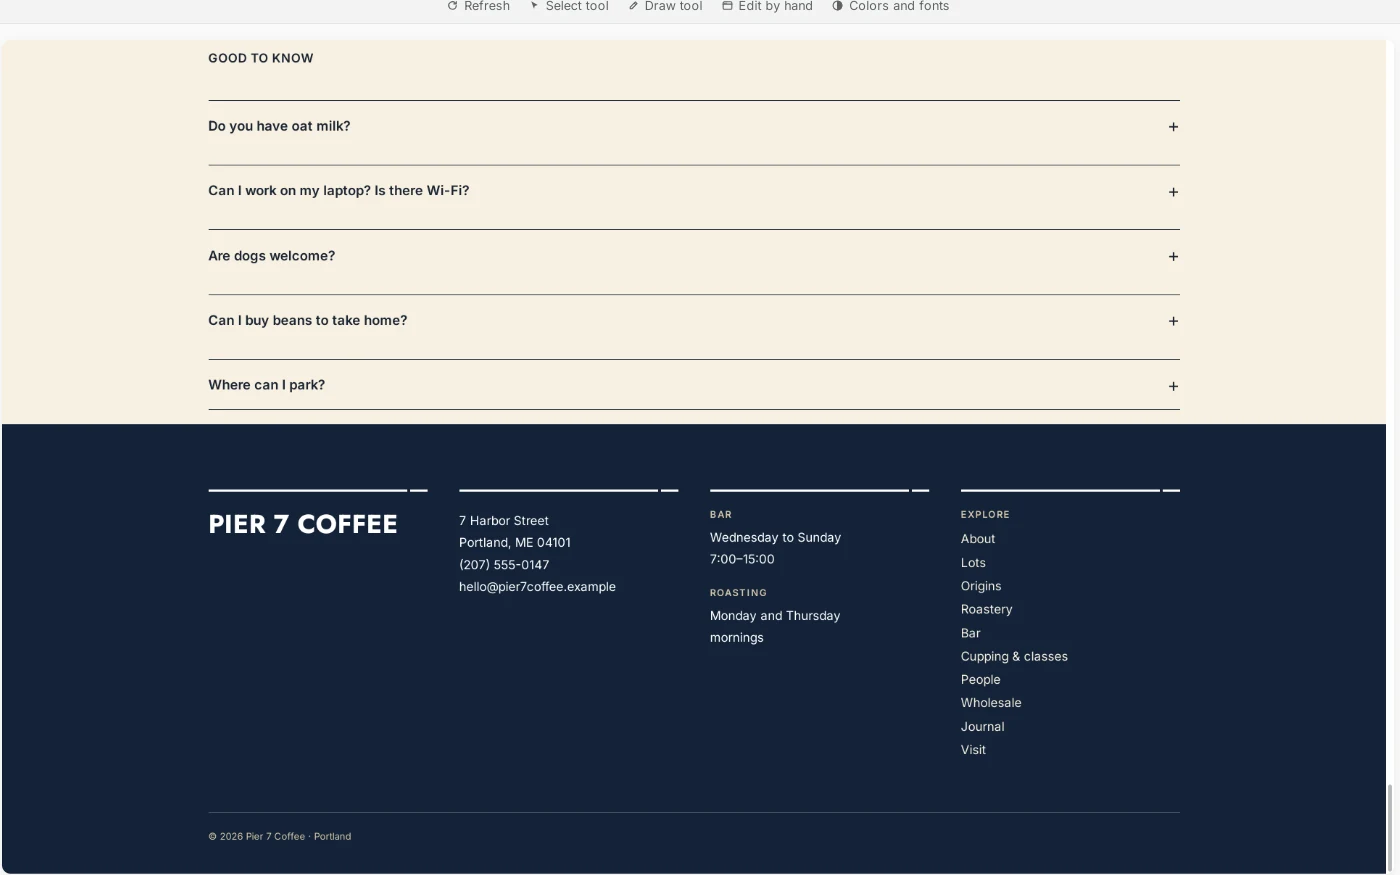
Before: one long list of links and no social links. -
Describe the new footer in one message
Click + New Worker for a fresh chat and list every change in one message. Say that it is for every page, and ask it to keep the colors and fonts and leave everything else alone. I sent:
Update the footer on every page: under the PIER 7 COFFEE logo add a one-line tagline 'Roasted on the harbor, poured at the bar.', add a Follow us column with Instagram and Facebook text links (use # as the link for now), split the long Explore list into two shorter columns, and add a 'Back to top' link on the right of the copyright line at the bottom. Keep the same colors and fonts. Don't change anything else.
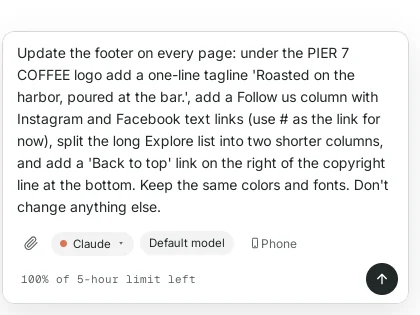
List all footer changes in one message. -
Let the AI change it
Press Enter. The AI first looks at how the footer is built, then edits it. Because the footer is shared, one change updates every page. You can follow the steps in the chat. For me it took about three minutes.
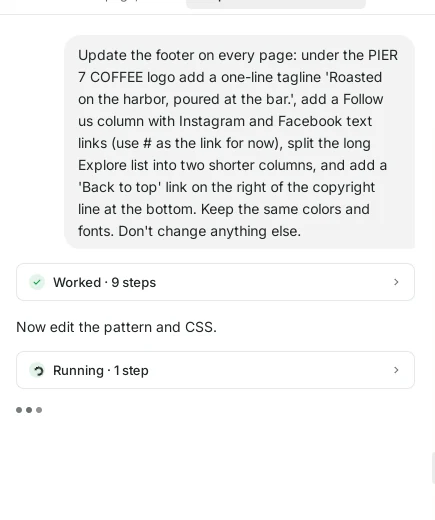
The AI reads the footer first, then edits it. -
Read what it did
When it is done, the AI lists each change: the tagline under the name, the Explore list split into two columns of five or six links, the new Follow us column with links that point to # for now, and the Back to top link. It also says the footer now has six columns instead of four.
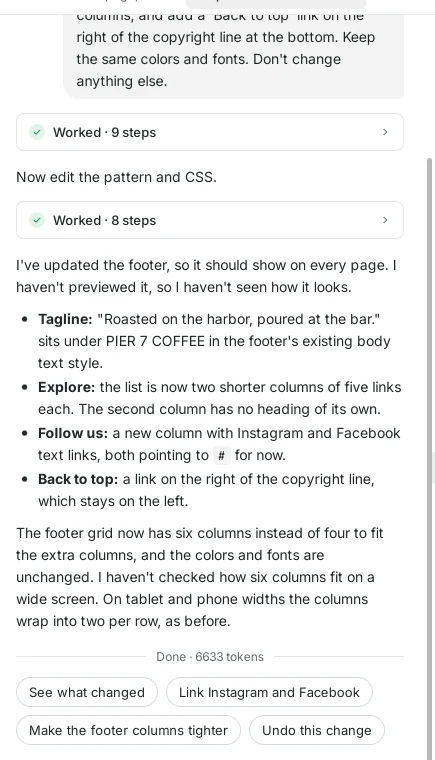
A short list of every change. -
Check it in the preview
Scroll the preview down to the footer. Everything I asked for was there, but six columns were too many for this width: the name broke onto two lines and the email address ran into the next column. Always look at the result yourself, then ask for a fix.
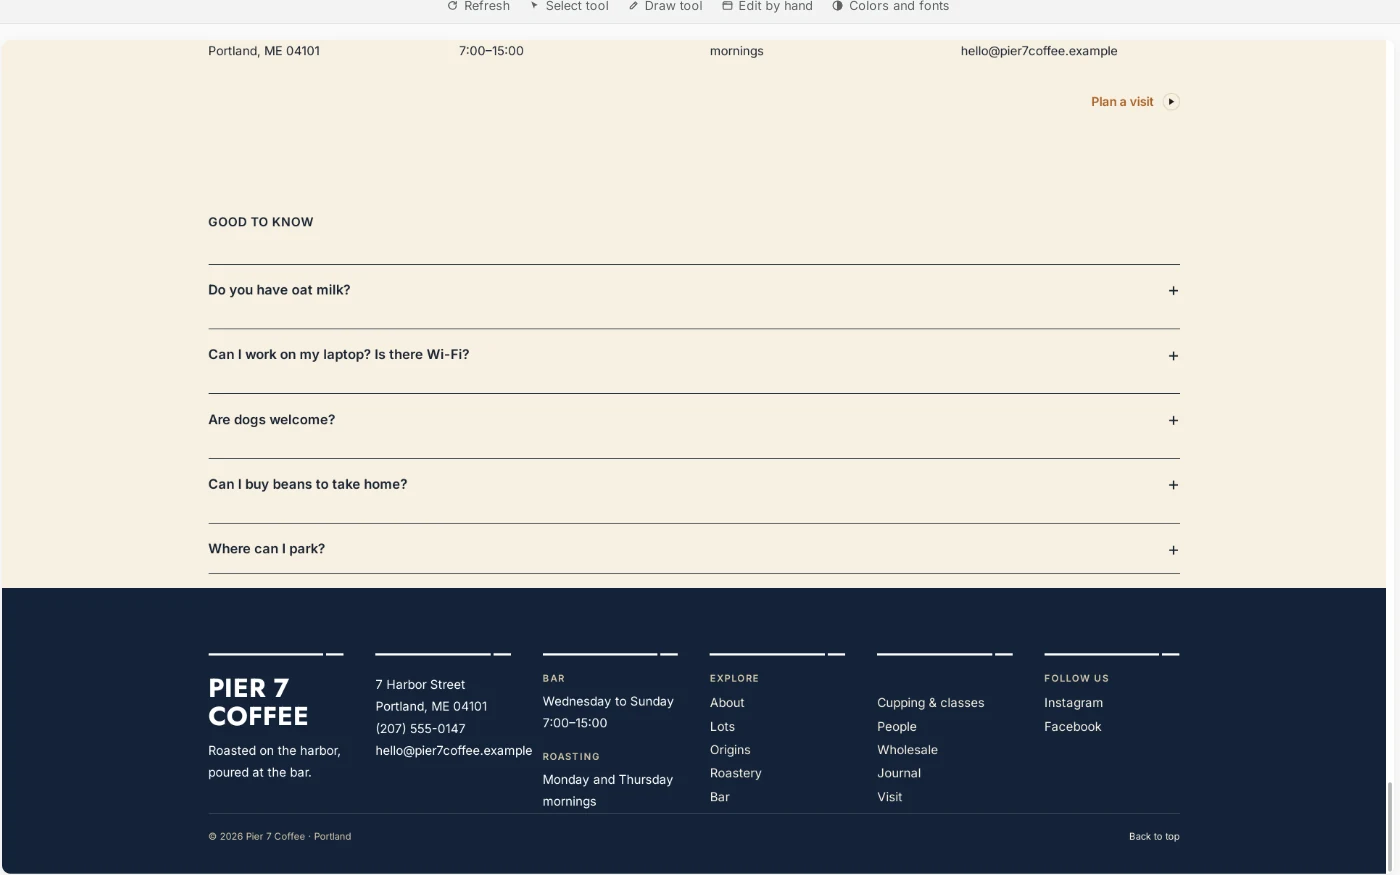
First version: all there, but too tight. -
Fix the layout with a short follow-up
Describe what looks wrong and how you want it. I sent:
The footer columns are too tight now: the logo breaks onto two lines and the email runs into the next column. Put the logo and tagline on their own row at the top of the footer, with the other columns in one row below it and a bit more space between them.
A minute or two later the name and tagline sat on their own row, and the address, hours, links and Follow us columns had room to breathe.
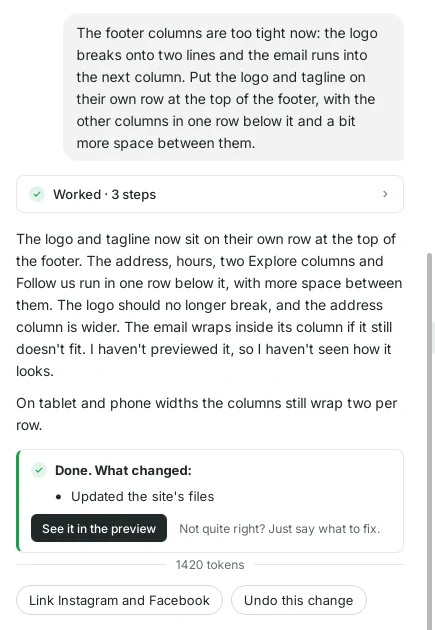
Say what looks wrong and how it should look. 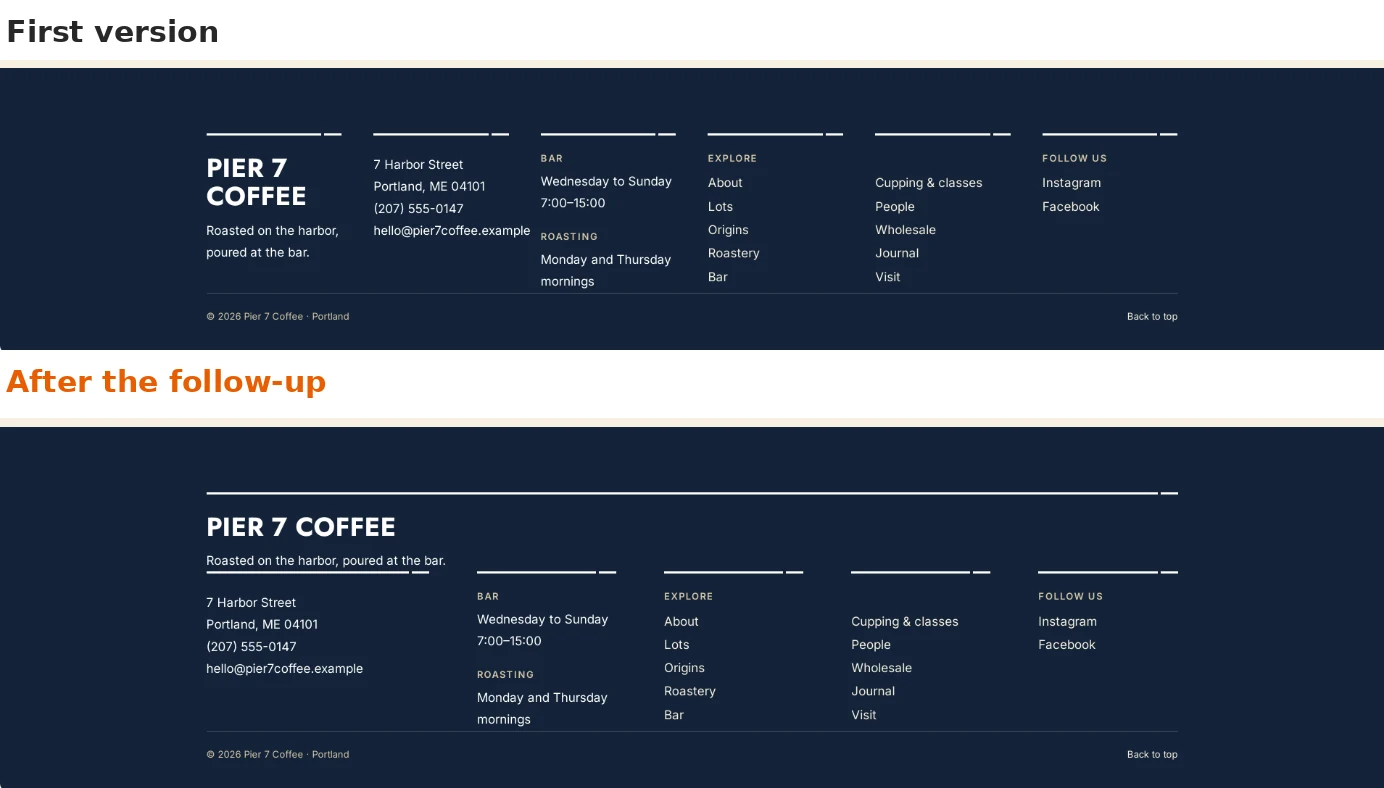
First version on top, after the follow-up below. -
Check it on Phone
Click Phone at the top right of the preview and scroll to the bottom. On a small screen the columns stack one under another with large links, and Back to top sits next to the copyright line.
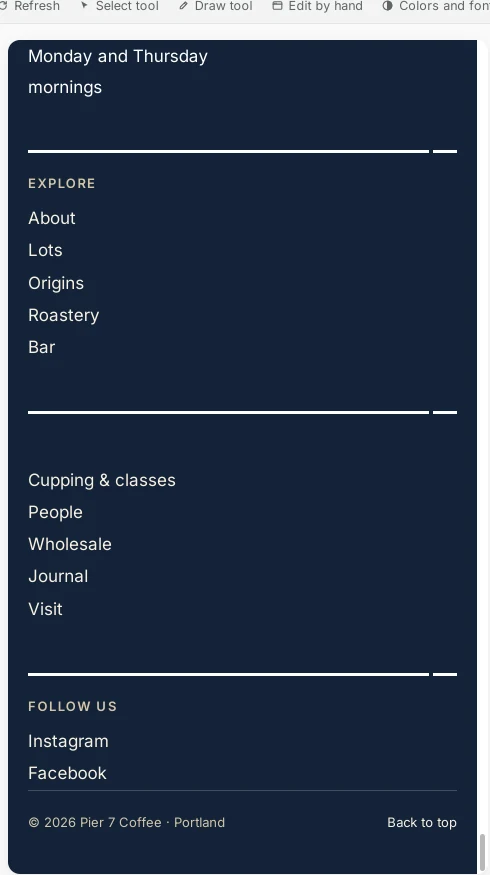
On a phone the columns stack. -
Add your real social links
The Instagram and Facebook links still point to #. Before you go live, send the real addresses, for example: “Link Instagram to instagram.com/pier7coffee and Facebook to facebook.com/pier7coffee, and open them in a new tab.” You can also click the suggestion Link Instagram and Facebook under the answer.
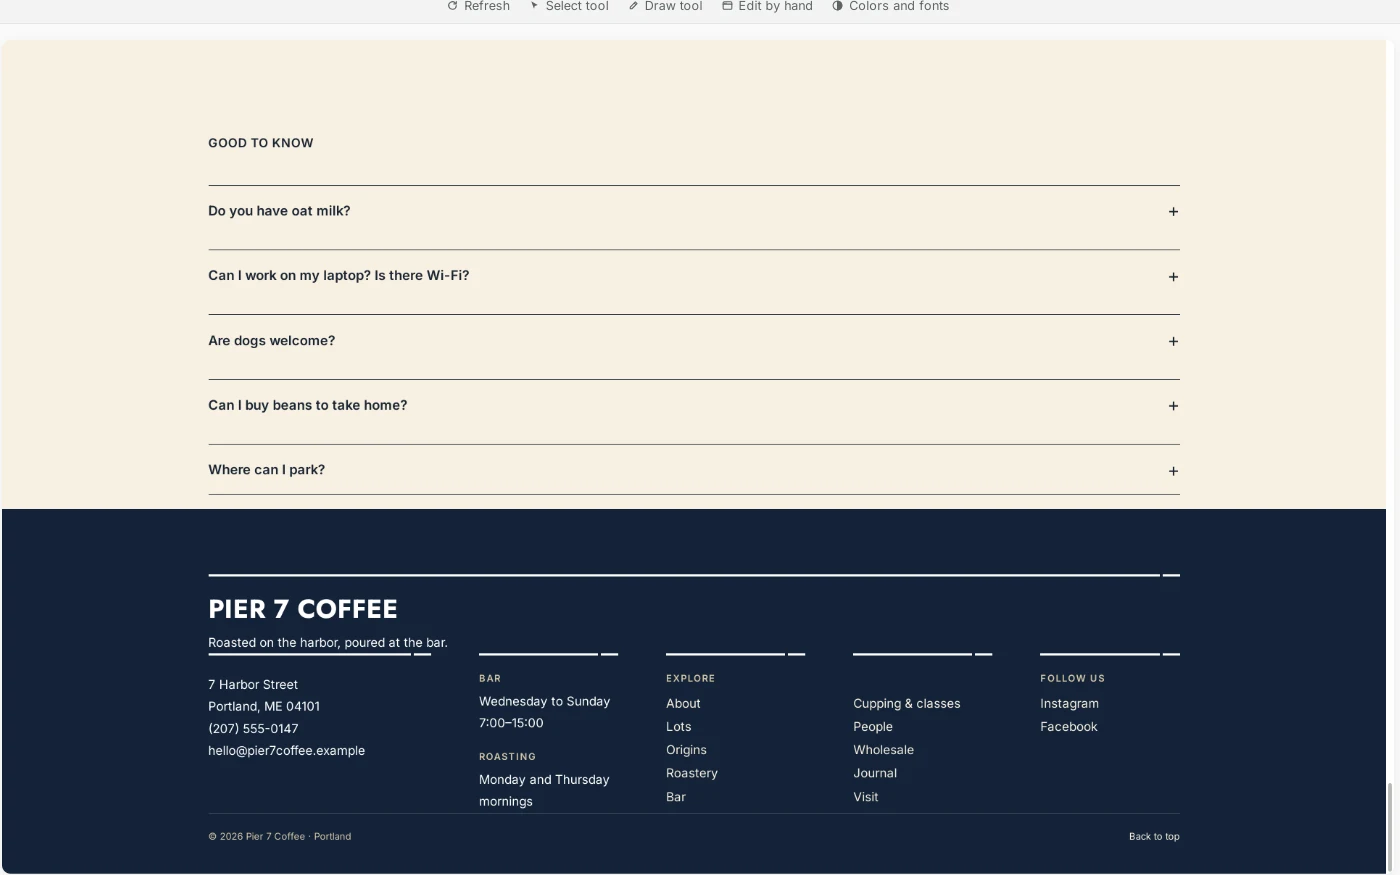
The finished footer, ready for your real links. -
Go back any time with History
ShipPress saves a restore point after every AI turn. Click History at the top right to see one for the new footer and one for the layout fix. Click Restore next to either to go back to exactly how the site looked at that moment.
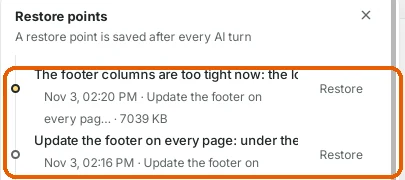
Each change is a restore point. -
Tips
- Put the practical things in the footer: address, opening hours, phone or email and your social accounts.
- Keep link lists short. Two columns of five links are easier to scan than one list of eleven.
- If the footer looks crowded, ask for fewer columns or for the name on its own row.
- Paste the real social links before you go live, so no link points to #.
- Check the footer on Phone before you click Go live.