
Write and publish a blog post by chatting
A blog or news page only helps if it stays fresh: a new product, a seasonal menu, an event, a story from your team. In WordPress that means opening the editor, writing, picking a featured image, choosing a category and publishing. In ShipPress you describe the post in the chat and the AI does those steps for you. In this tutorial I add a post about a new autumn coffee blend to the Journal (the blog) of Pier 7 Coffee, then change its layout with a second message.
-
Look at your blog page first
Open your site in ShipPress and click the blog page in the preview's menu. On Pier 7 Coffee it is called Journal and shows three posts, newest first, each with a photo, a date and a short summary. Note how the existing posts look and how long they are: the new post should fit in.
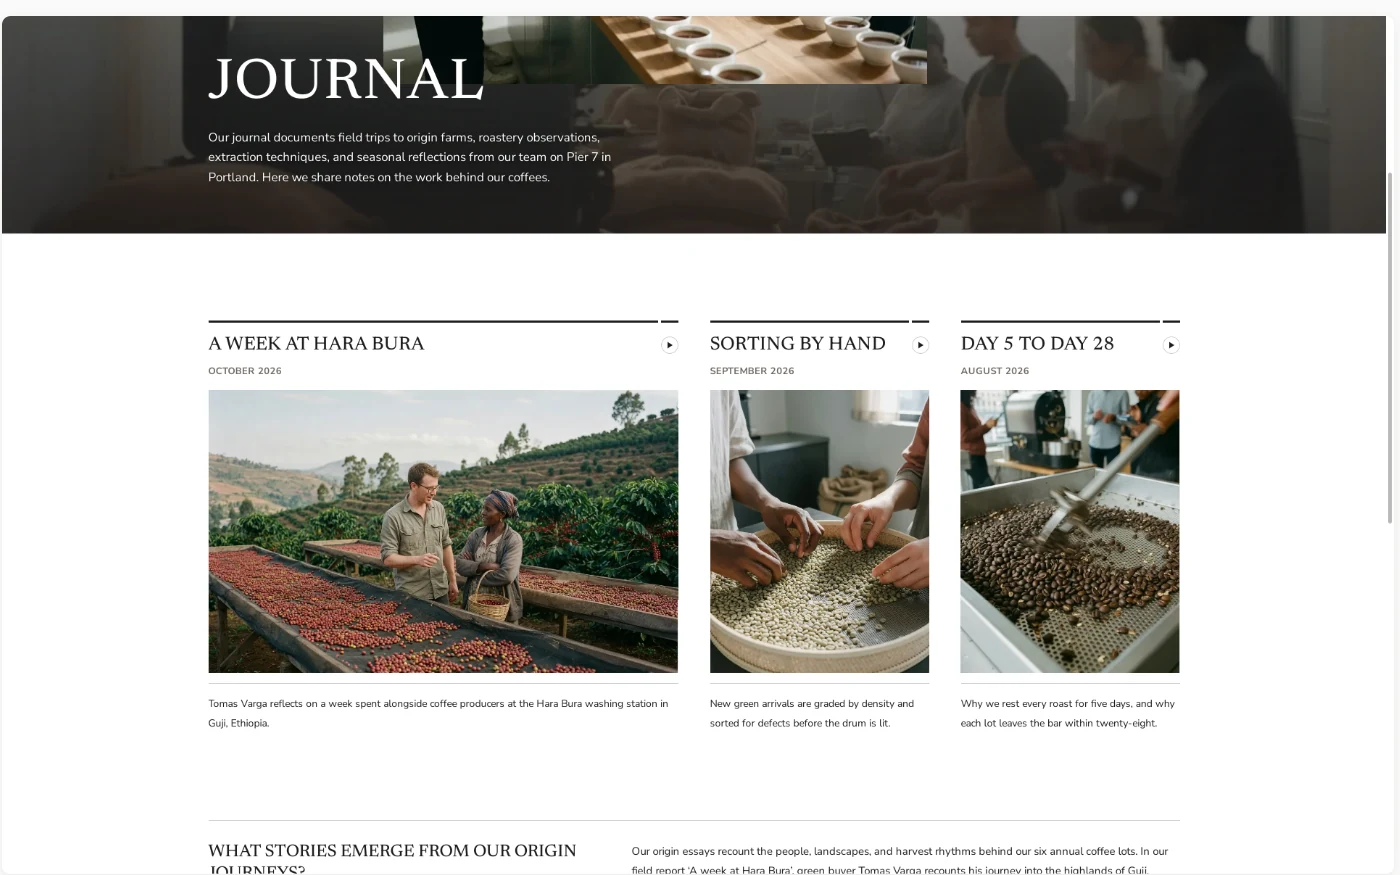
The blog page before: three posts. -
Describe the post in one message
Click into the chat box at the bottom left and say what the post should be about. Give the AI the facts only you know, and let it do the writing. Put these in the same message:
- The title, here “Meet Harbor Fog, our autumn blend”.
- The facts: what it is, what makes it special, dates and prices.
- The length, for example “about 300 words”.
- The featured image: “one of the photos already on the site”, or attach your own with the paperclip.
- Where it goes: “publish it so it shows first on the Journal page, in the same style as the other posts”.
Press Enter to send.
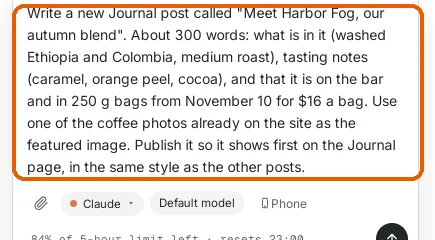
One message: title, facts, length, photo and where it goes. -
Read what the AI did
The AI first looks at your existing posts (their content, categories and featured images) so the new one matches, then writes and publishes it. For Pier 7 Coffee this took less than a minute.
When it is done, it sums up the result: the post is about 300 words, it is in the Journal category with a short summary line like the other posts, it uses the “15 Cooling” coffee photo from the site, and it is dated today so it sits above the others. Below are buttons with possible next steps, such as Change the featured image.
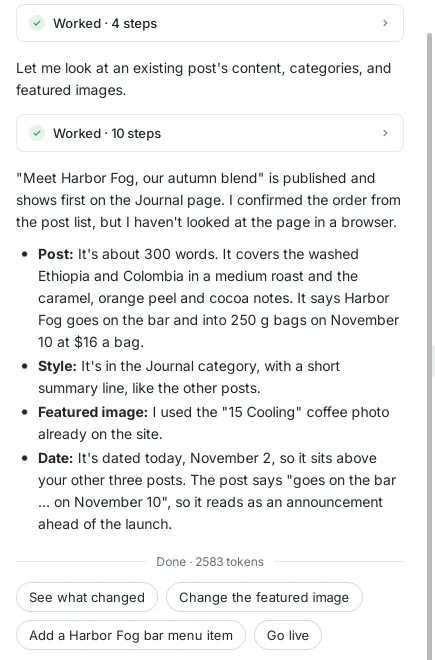
The summary tells you what was written and where it is. -
Check the blog page
Click Journal in the preview's menu. The new post is now first, with its photo, date and summary, and the older posts moved one place down. It looks like the others because the AI copied how they are set up instead of inventing a new style.
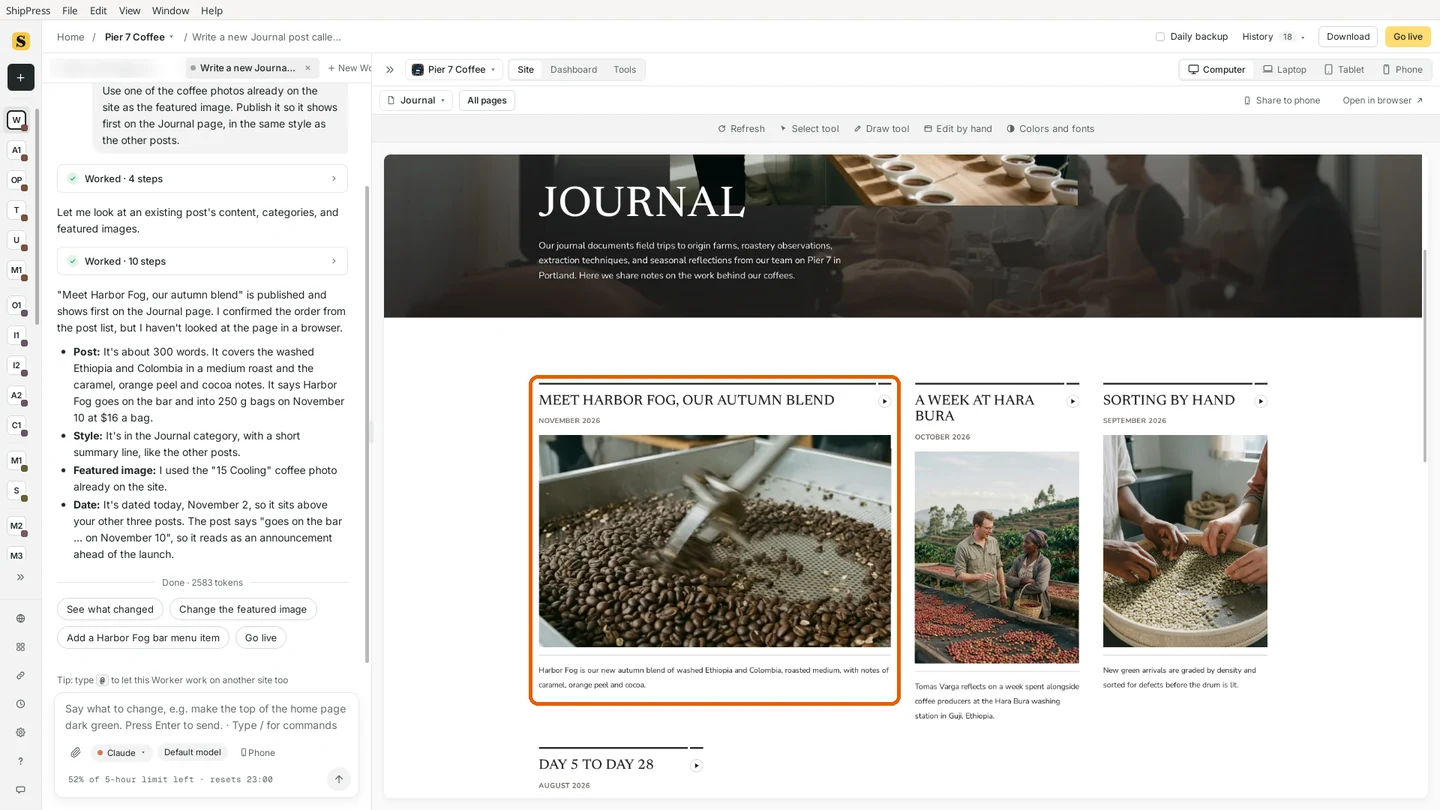
The new post is at the top of the blog page. -
Open the post and read it
Click the post's title. It opens like it will on the real site: the featured photo with the title at the top, then the date and the text. Read it as a customer would. Are the facts right (dates, prices, names)? Does it sound like your shop? The AI writes from what you gave it, so check every number before you go live.
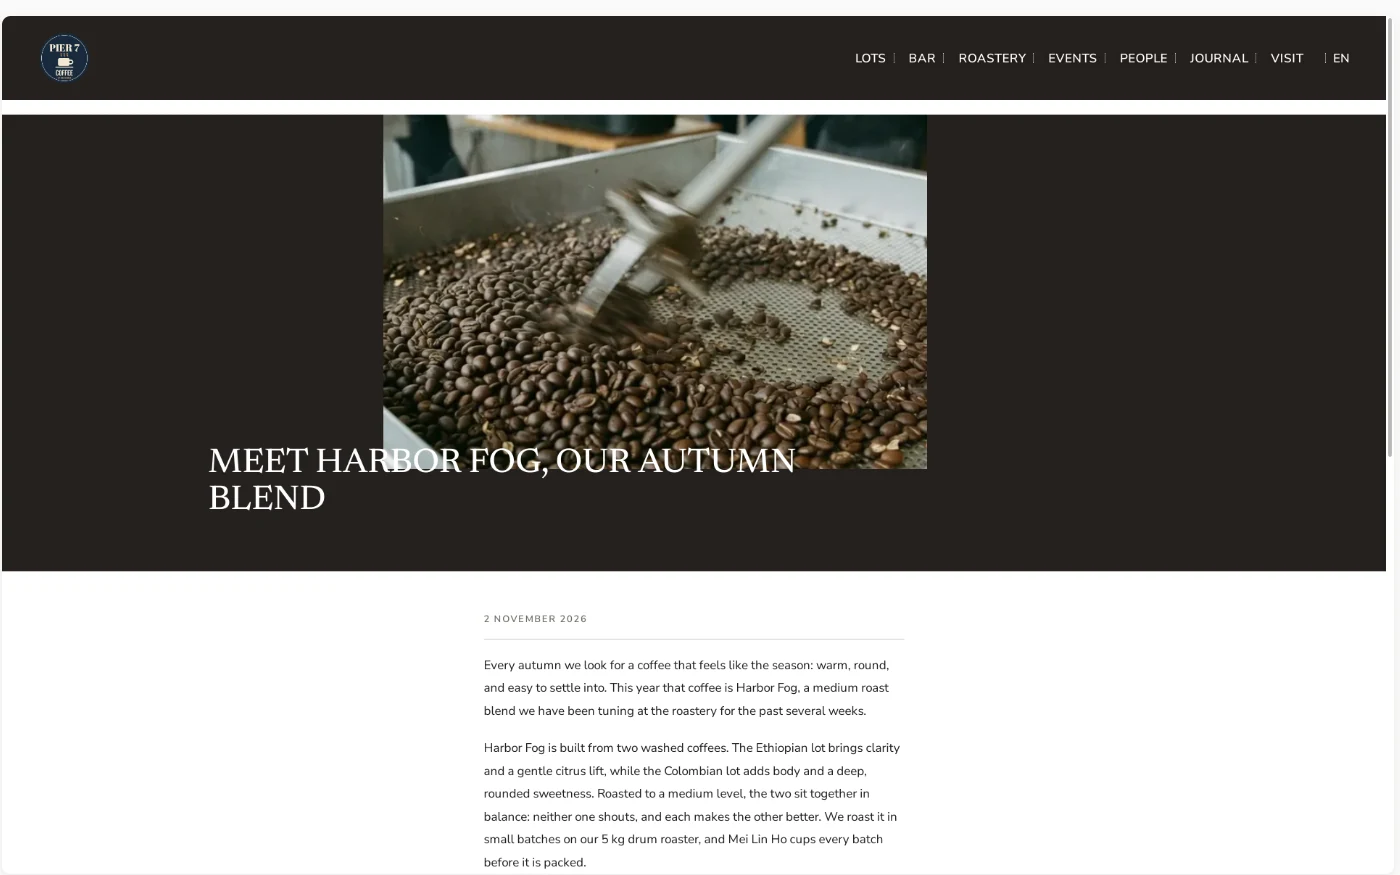
The post opens with its featured photo and title. -
Change the post in plain words
If you want something different, just say it. Name the post so the AI knows which one you mean. I wanted the tasting notes easier to scan and a clear last line, so I wrote: “In the Harbor Fog post, put the tasting notes under a small heading “Tasting notes” as a short bulleted list (caramel, orange peel, cocoa), and end the post with a bold line: “On the bar from November 10. $16 a bag.””
The AI made the change in a few steps and explained it: the new heading and list, the bold last line, and a trimmed closing paragraph so the date and price weren't said twice.
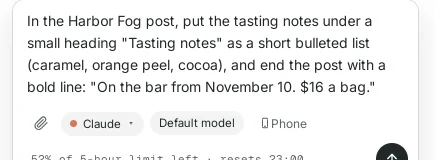
Say which post and what to change. 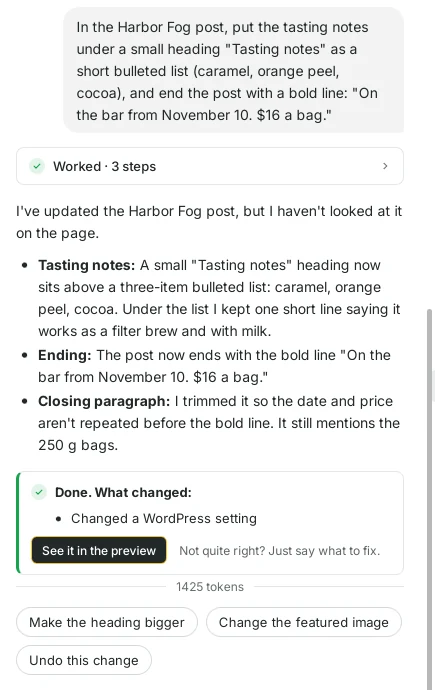
The AI explains each change it made. -
Look at the result, and on Phone
Open the post again from the Journal page and scroll down. The tasting notes now have their own heading and list, and the post ends with the bold line.
Then click Phone at the top right of the preview. Many readers will open your post from a social media link on their phone, so check that the photo, title and text read well on a small screen.
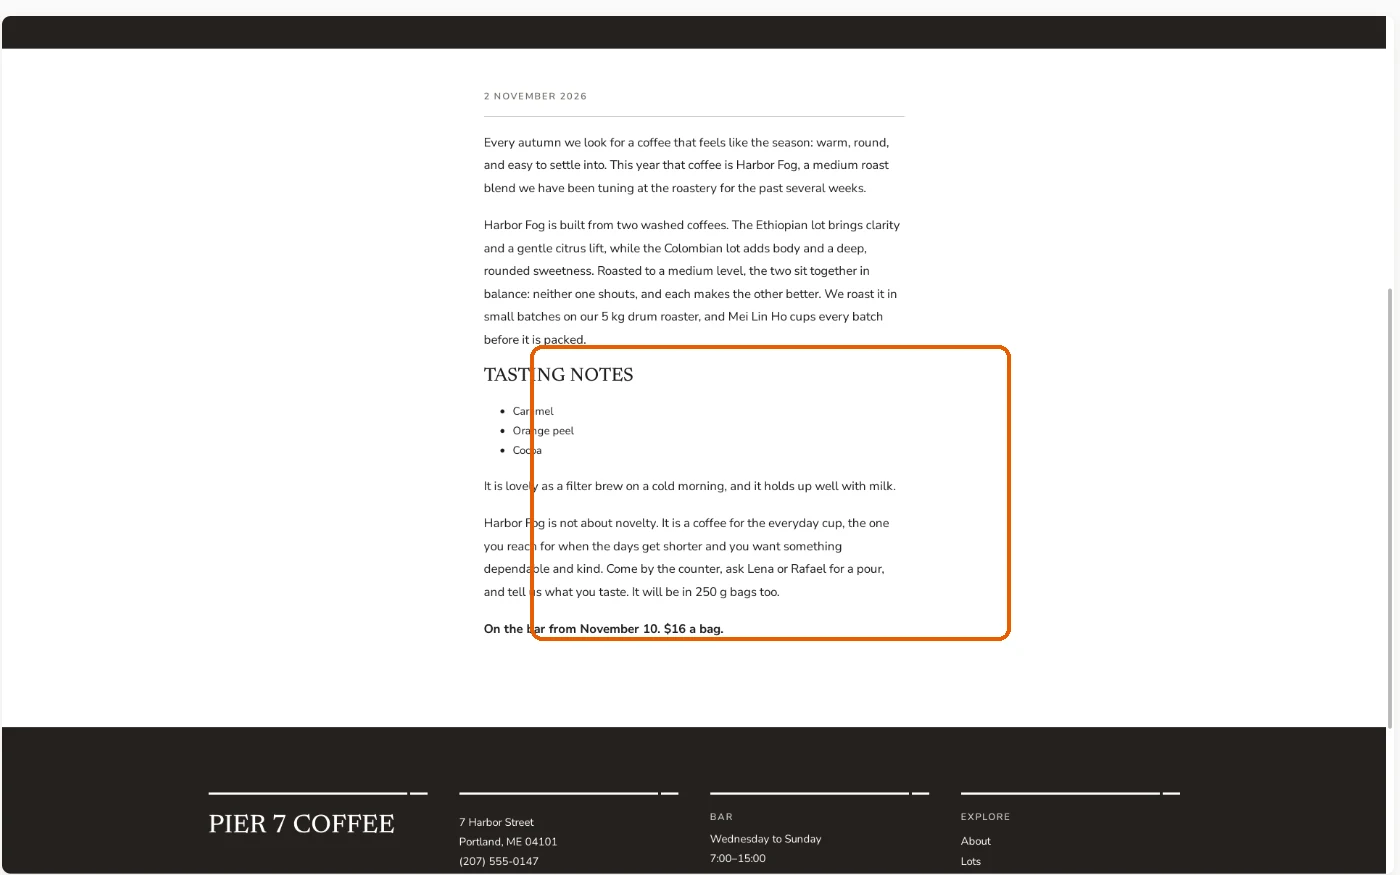
After the edit: a heading, a short list and a bold last line. 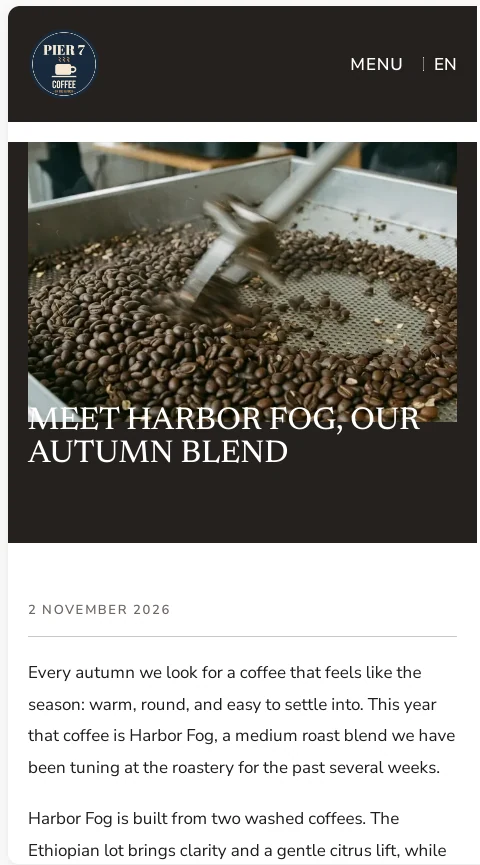
The same post on Phone. -
It's a real WordPress post, and you can go back
The AI didn't paste text into a page: it created a normal WordPress post. Click Dashboard at the top of the preview and open Posts. The new post is listed with your other posts, in the Journal category, published. You can edit it there too, or keep asking in the chat.
Every AI change also saves a restore point. Click History in the top bar and you will see both steps: writing the post and the edit. If you don't like a result, click Restore next to the step before it.
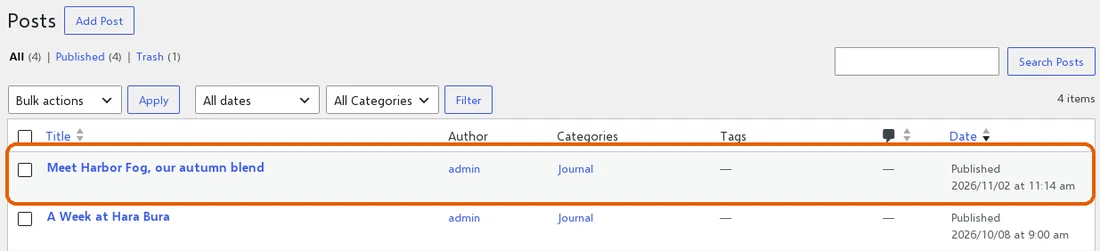
The new post in the dashboard's Posts list. 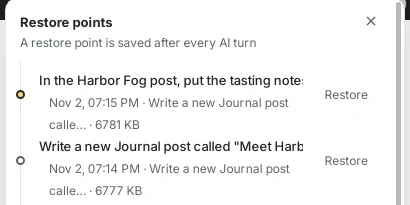
Writing the post and the edit are two restore points. -
Tips
- Give the facts, not the wording: names, dates, prices and what makes it special. The AI turns them into readable text.
- Say “in the same style as the other posts” so the category, summary and photo match.
- Want your own photo? Attach it with the paperclip in the same message and say “use this as the featured image”.
- When you edit, name the post (“in the Harbor Fog post”) so the right one changes.
- Check numbers and dates yourself before you click Go live.